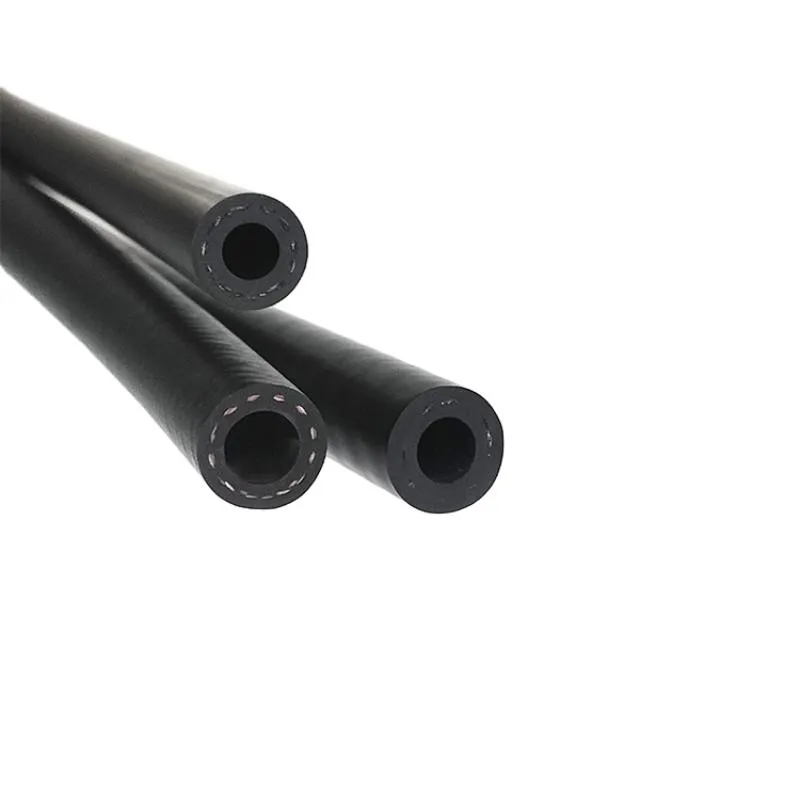
replacing brake pipes
Nov . 22, 2024 16:15 Back to list
replacing brake pipes
Replacing Brake Pipes A Step-by-Step Guide
Brake pipes are a crucial component of any vehicle’s braking system. They transport brake fluid from the master cylinder to the brake calipers or wheel cylinders, allowing the brakes to function effectively. Over time, brake pipes can corrode, develop leaks, or become damaged, leading to decreased braking performance and posing a serious safety risk. Therefore, it is essential to replace worn or damaged brake pipes promptly.
Identifying the Need for Replacement
Before beginning the replacement process, it is vital to assess the condition of the brake pipes. Signs that indicate a need for replacement include visible rust, flaking, fluid leaks, or a spongy brake pedal feel. Regularly inspecting your brake system can help catch these problems early.
Tools and Materials Required
Replacing brake pipes requires a few specific tools and materials a wrench set, brake pipe flaring tool, brake fluid, replacement brake lines, cutting tool, and some rags for cleanup. It’s best to have a repair manual specific to your vehicle, as it will provide detailed instructions and specifications.
Step-by-Step Replacement Process
1. Safety First Always start by ensuring the vehicle is parked on a flat surface, the parking brake is engaged, and you are wearing safety goggles.
replacing brake pipes

3. Disconnecting the Old Pipes Using the appropriate wrench, carefully remove the old brake pipes. Be cautious of any residual brake fluid that may leak out.
4. Cutting New Pipes Measure and cut the new brake pipes to the required length. Ensure you have clean, straight cuts to facilitate proper fittings.
5. Flaring the Ends Use the brake pipe flaring tool to flare the ends of the replacement pipes. This is critical for ensuring a leak-proof seal when connecting to the brake system.
6. Installing New Pipes Connect the new pipes, ensuring they are routed properly and away from any hot or moving parts. Tighten all connections securely without over-tightening.
7. Bleeding the Brakes After installation, bleed the brake system to remove any air that may have entered the lines. This step is vital to maintaining braking efficiency.
8. Testing Finally, inspect all connections for leaks and test the brake pedal feel by pressing down several times before taking the vehicle for a short test drive.
Conclusion
Replacing brake pipes is an essential maintenance task that can significantly impact vehicle safety. By following these steps and regularly inspecting your braking system, you can ensure that your vehicle maintains optimal braking performance. If you are unsure or uncomfortable performing this replacement yourself, it's always best to consult a professional mechanic.
