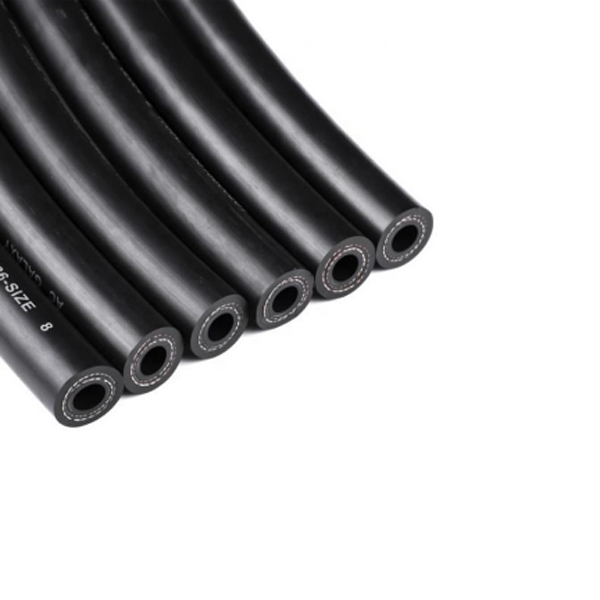
repairing fuel line with high pressure rubber
Dec . 13, 2024 16:40 Back to list
repairing fuel line with high pressure rubber
Repairing Fuel Lines with High-Pressure Rubber A Comprehensive Guide
Fuel lines play a crucial role in any vehicle or machinery that relies on combustion engines for power. They transport fuel from the tank to the engine, and any failure in this system can lead to a multitude of issues, including engine failure and potential safety hazards. One of the most effective ways to repair or replace a damaged fuel line is by using high-pressure rubber. In this article, we will explore the reasons for using high-pressure rubber for fuel line repairs and provide a step-by-step guide on how to execute the repair safely and efficiently.
Why Use High-Pressure Rubber?
High-pressure rubber is specifically designed to withstand the intense pressures and temperatures that fuel lines may encounter. Unlike regular rubber, high-pressure variants are reinforced to provide superior durability and resistance to wear, fuel chemicals, and heat. This makes them ideal for automotive applications where reliability is paramount. Furthermore, high-pressure rubber is flexible, which allows it to accommodate the various bends and turns that fuel lines often require. Utilizing this material can extend the lifespan of your repair and offer peace of mind that your fuel system will operate effectively.
Tools and Materials Needed
To repair a fuel line using high-pressure rubber, you will need the following tools and materials
- High-pressure rubber hose - Hose clamps (suitable for high pressure) - Fuel line cutter or sharp knife - Screwdriver or wrench - Fuel-resistant adhesive (optional) - Safety goggles and gloves - Rags or absorbent cloth
Step-by-Step Repair Guide
1. Safety First Before starting the repair, ensure you are wearing safety goggles and gloves. Work in a well-ventilated area and keep a fire extinguisher nearby, as fuel is highly flammable.
2. Identify the Damage Inspect the fuel line carefully to locate the damaged section. Look for cracks, leaks, or any abrasive wear. Mark the area that needs repair or replacement.
repairing fuel line with high pressure rubber

3. Disconnect Fuel Line Use a screwdriver or wrench to carefully disconnect the fuel line from its fittings. Make sure to have a rag handy to catch any fuel that may spill.
4. Cut the Damaged Section Using a fuel line cutter or a sharp knife, cut out the damaged portion of the fuel line. Ensure that the cuts are clean and straight to avoid issues during reattachment.
5. Measure and Cut High-Pressure Rubber Hose Measure the length needed from the high-pressure rubber hose to replace the section you just removed. Cut the rubber hose with the same clean technique used for the original line.
6. Attach the High-Pressure Rubber Hose Slide the hose onto the fittings where you made the cuts. Ensure that the hose fits snugly. If you are using adhesive, apply it as per the manufacturer's instructions.
7. Secure with Hose Clamps Place hose clamps on either side of the new rubber hose section. Tighten them securely to ensure no fuel leaks will occur through the joints.
8. Reconnect the Fuel Line Reconnect the fuel line to the system and check that everything fits correctly.
9. Test for Leaks Before starting your engine, check for leaks around the new hose connection by turning on the ignition briefly (without starting the engine). If you see any fuel escaping, tighten the hose clamps or adjust the fitting as needed.
10. Start the Engine Once you are confident there are no leaks, start your engine and monitor the fuel line for any signs of issues during operation.
Conclusion
Repairing a fuel line with high-pressure rubber is a practical solution that can save time and money while ensuring the safety and efficiency of your vehicle. By following the outlined steps and prioritizing safety, you can effectively manage fuel line repairs and keep your engine running smoothly. Remember that if you are ever in doubt, consulting a professional mechanic is always a wise choice.
