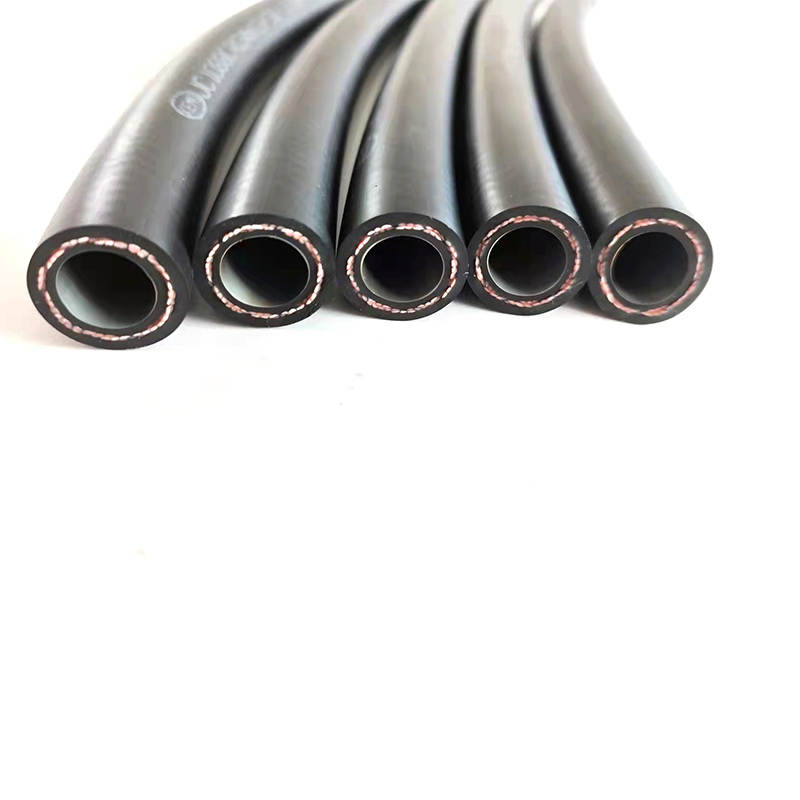
How to Effectively Replace Brake Pipes for Optimal Vehicle Safety
Aug . 17, 2024 10:14 Back to list
How to Effectively Replace Brake Pipes for Optimal Vehicle Safety
Replacing Brake Pipes A Comprehensive Guide
Brake pipes are an essential component of any vehicle's braking system, responsible for transporting brake fluid from the master cylinder to the brake calipers or wheel cylinders. Over time, these pipes can corrode or develop leaks, leading to reduced braking efficiency, which can pose a serious safety risk. Therefore, replacing brake pipes is crucial for maintaining the integrity and safety of your vehicle. This article will guide you through the process of replacing brake pipes, the tools you will need, and some tips to make the job easier.
Understanding Brake Pipes
Brake pipes are typically made of either steel or copper-nickel alloy. Steel pipes are more common due to their durability; however, they are susceptible to rust and corrosion, especially in areas with harsh weather conditions and road salt exposure. Copper-nickel pipes, while more expensive, offer better resistance to rust and provide improved performance in the long run. When it comes to replacing brake pipes, choosing the right material is essential for ensuring longevity and safety.
Tools and Materials Needed
Before you begin the replacement process, it's essential to gather the necessary tools and materials. Here's a list to get you started
- Brake pipe tubing (steel or copper-nickel) - Pipe bender - Flaring tool - Wrenches (appropriate sizes for your brake fittings) - Steel or copper-nickel brake line fittings - Brake fluid - Brake cleaner - Safety glasses and gloves - Jack and jack stands
Make sure you are working in a well-ventilated area and, if necessary, secure the vehicle on a flat surface using jack stands.
Steps to Replace Brake Pipes
1. Preparation Start by safely lifting the vehicle using a jack and supporting it with jack stands. Remove the wheels to gain better access to the brake system.
replacing brake pipes

2. Identify the Issue Before you start replacing pipes, identify which brake pipe needs replacement. Look for signs of corrosion, leaks, or any visual damage.
3. Remove the Old Brake Pipe Using the appropriate wrenches, carefully remove the fittings that secure the old brake pipe to the brake system. Be cautious, as brake fluid will leak out when you disconnect the pipe. Have a container ready to catch any spilled fluid.
4. Cut and Bend the New Pipe Measure the length of the old pipe and cut the new brake pipe accordingly. Use a pipe bender to ensure the new pipe fits into the same route as the old one, avoiding sharp bends that could stress the pipe.
5. Flaring the Ends After cutting the pipe, you will need to flare the ends to ensure a proper seal with the fittings. Follow the manufacturer's instructions for your flaring tool but generally, the process involves placing the end of the pipe into the tool and compressing it to create a flared end.
6. Install the New Pipe Thread the new brake pipe into the existing fittings and tighten them securely, being careful not to overtighten, which can cause damage.
7. Bleed the Brake System After installing the new pipe, bleed the brake system to remove any air that could compromise braking performance. This process typically involves having someone pump the brake pedal while you open and close the bleeder valve on each brake caliper or wheel cylinder.
8. Check for Leaks Once the system is bled, check all fittings and connections for leaks. Inspect the area thoroughly to ensure everything is secure and leak-free.
Conclusion
Replacing brake pipes can be a manageable DIY project if you have the right tools and take the necessary safety precautions. However, if you are unsure or uncomfortable performing this task, it is always advisable to consult a professional mechanic. Regular maintenance of your vehicle's brake system, including the replacement of worn or corroded brake pipes, is vital for ensuring your safety on the road. Remember, a well-functioning brake system can be the difference between a close call and a serious accident.
