
changing a brake line
Nov . 12, 2024 20:00 Back to list
changing a brake line
Changing a Brake Line A Step-by-Step Guide
Brake lines are crucial components of any vehicle's braking system. They are responsible for transferring the hydraulic fluid necessary for applying pressure to the brake pads, which in turn stop your vehicle. If you notice signs of brake line failure, such as a spongy brake pedal, leaking fluid, or decreased braking performance, it's imperative to address the issue promptly. Changing a brake line may seem daunting, but with the right tools and a bit of knowledge, it can be done safely and effectively.
Tools and Materials Needed
1. Tools - Wrench set - Line wrenches (to prevent rounding of fittings) - Brake line cutting tool - Flare tool (if you're forming new lines) - Jack and jack stands or ramps - Brake bleeder kit
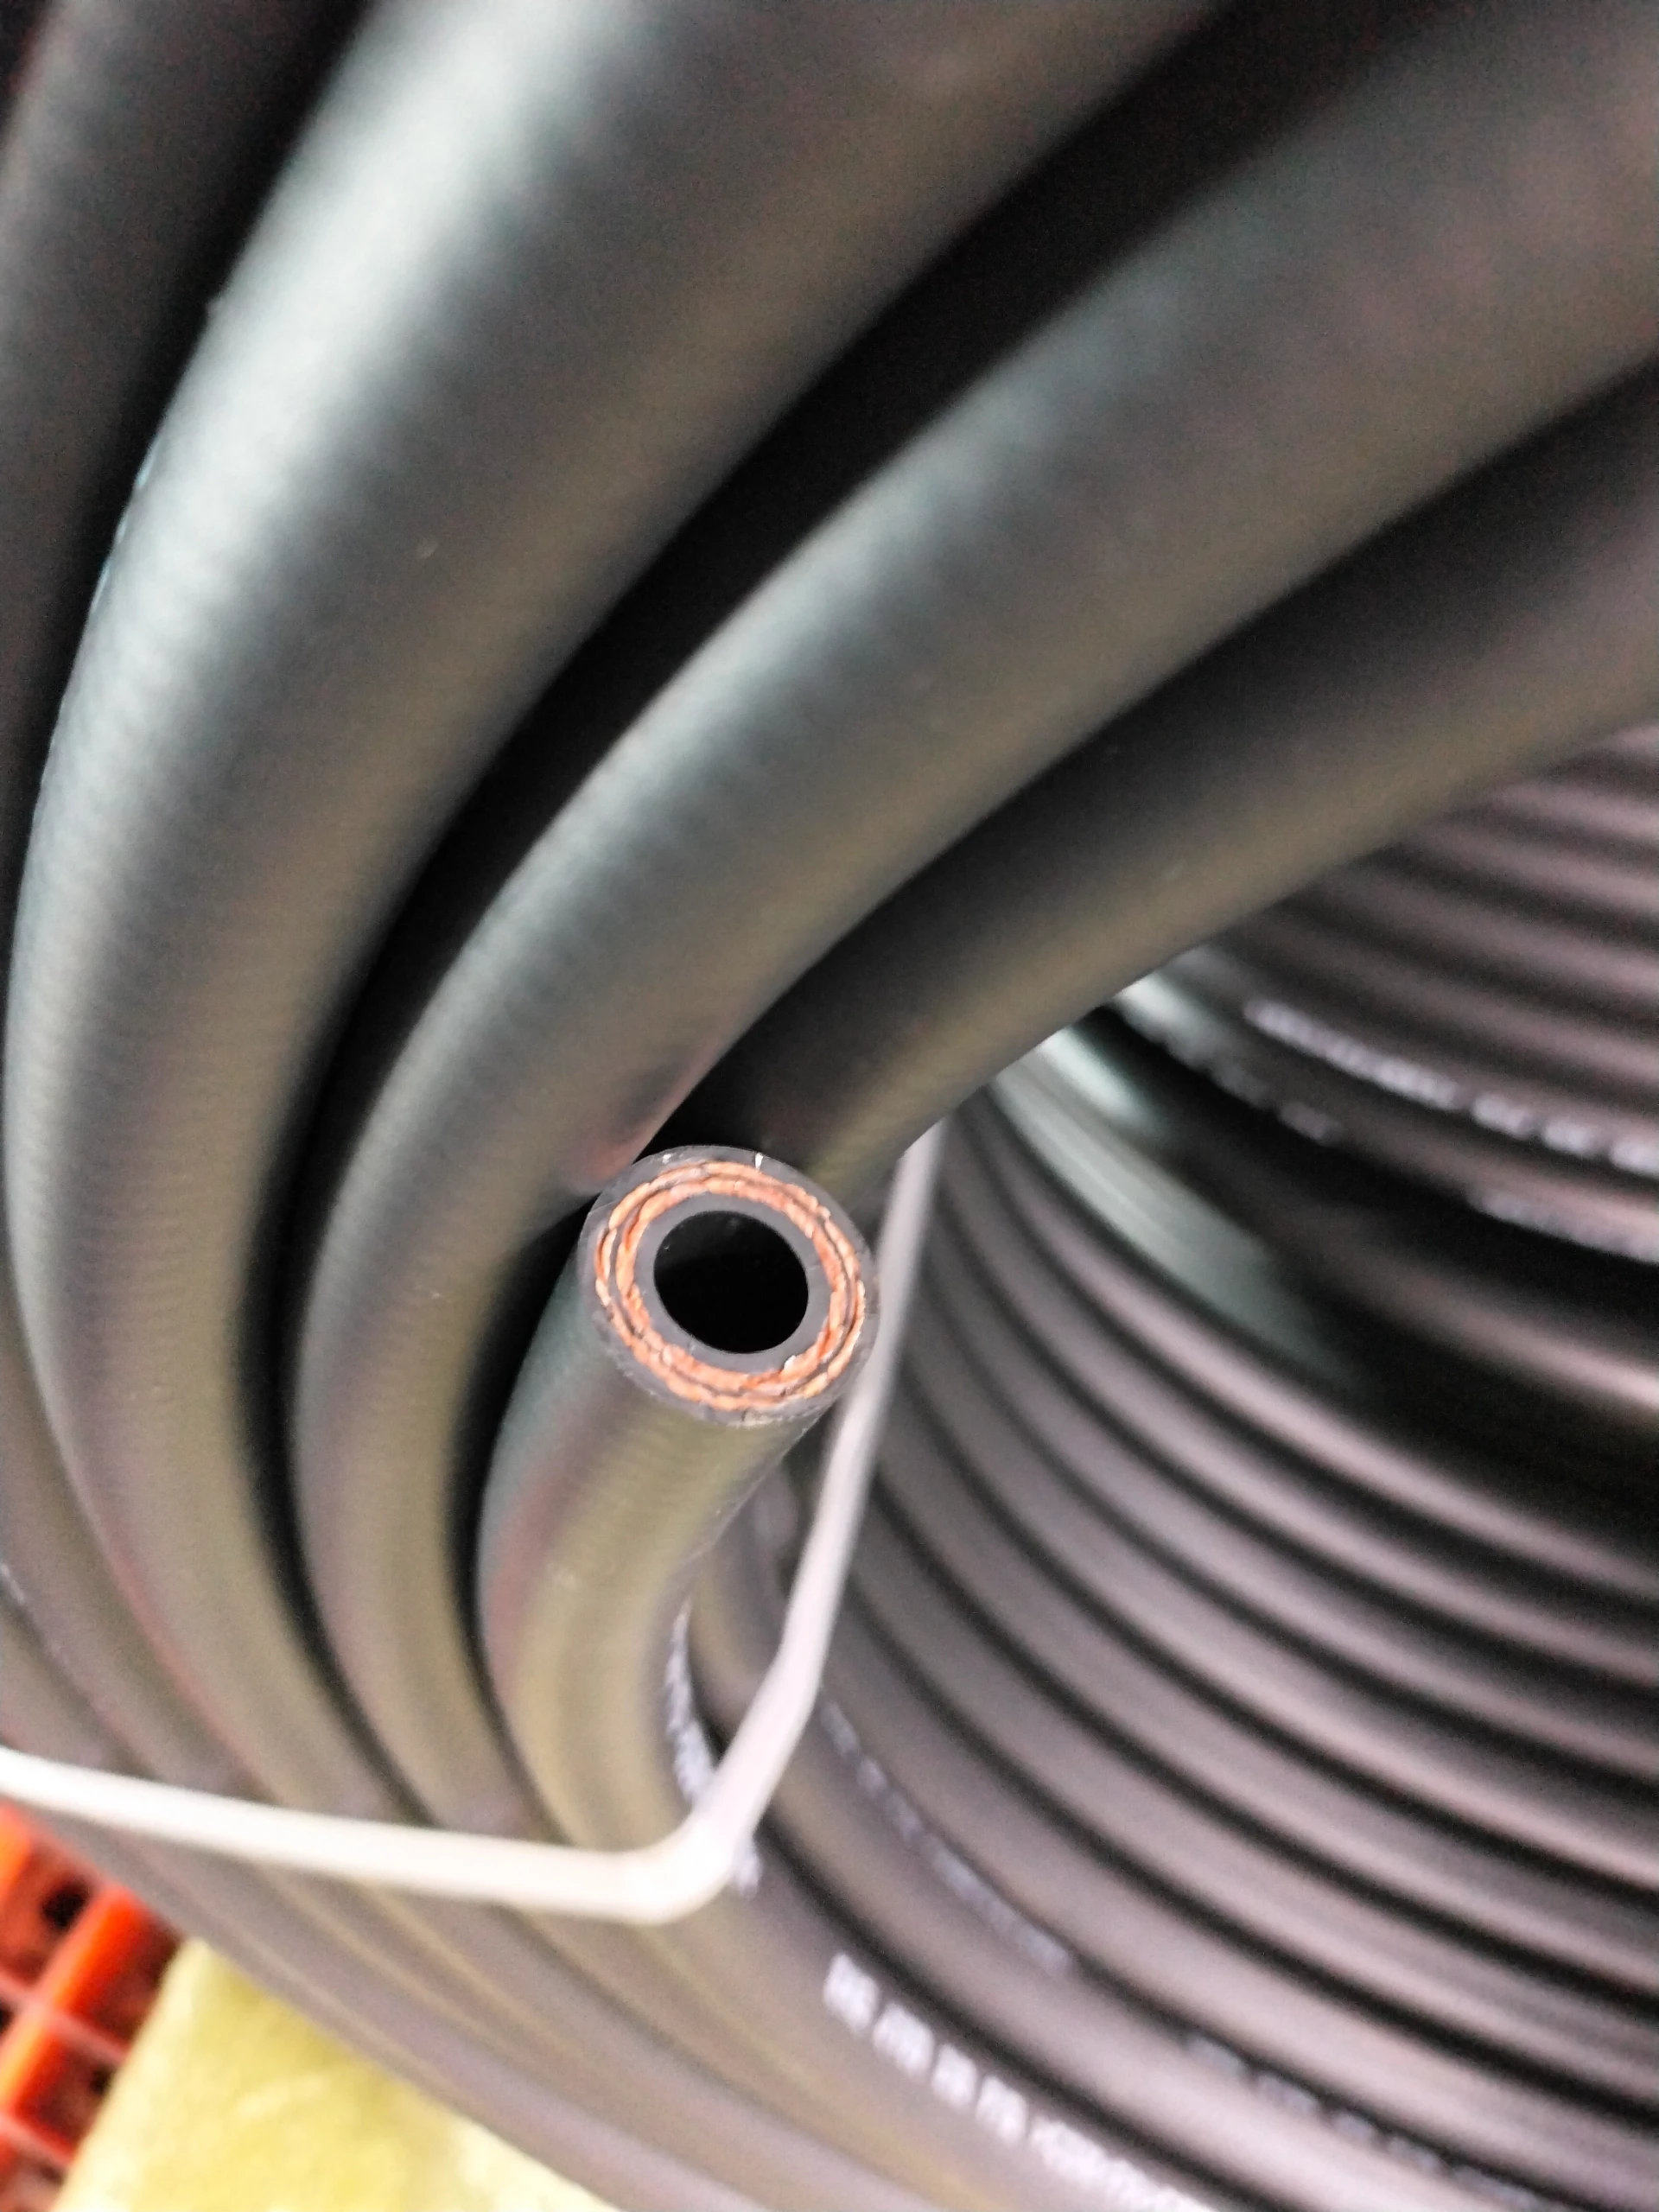
2. Materials - Replacement brake line (make sure it's compatible with your vehicle) - Brake fluid - Rags or shop towels
Step-by-Step Process
1. Safety First Before starting any work on your vehicle, ensure it's parked on a flat surface. Engage the parking brake and wear protective gear, including gloves and safety goggles. If you need to lift the vehicle, use jack stands for security—never rely solely on a hydraulic jack.
2. Locate the Brake Line Identify the section of the brake line that requires replacement. Inspect it closely for damage or corrosion, which may be causing leaks or failures.
changing a brake line
3. Remove the Old Brake Line Using a line wrench, carefully loosen the fittings at both ends of the damaged brake line. Be prepared with rags to catch any leaking brake fluid. Once the fittings are removed, detach the old brake line completely from its mounting brackets.
4. Measure and Cut the New Brake Line Take measurements of the old brake line to ensure the new one is the correct length. If the new line isn't pre-formed to the exact specifications, use a brake line cutting tool to cut it to the desired length.
5. Flare the New Brake Line (if necessary) If you’re creating a new brake line, you'll need to flare the ends. Use a flare tool to create a solid seal when attaching the line to the fittings. This is essential for preventing leaks.
6. Install the New Brake Line Carefully route the new brake line through the same path as the old line, ensuring that it's secured away from any moving parts or hot surfaces. Attach it to the mounting brackets, and connect it to the brake fittings. Tighten the connections securely using a line wrench.
7. Bleed the Brake System Once the new line is in place, you need to refill the brake fluid and bleed the system to remove any air bubbles that might have entered. Start by filling the brake fluid reservoir. Then, using a brake bleeder kit, have a helper pump the brake pedal while you open and close the bleeder valve on each brake caliper, starting with the one farthest from the master cylinder. Keep an eye on the fluid level in the reservoir and top it off as necessary.
8. Test the Brakes After bleeding the brakes, press the brake pedal a few times to ensure it feels solid. If everything feels good, you can lower the vehicle and take it for a short test drive. Pay attention to how the brakes respond and monitor for any signs of leakage or irregular behavior.
Conclusion Changing a brake line is a vital maintenance task that, when done correctly, can enhance your vehicle's safety and performance. While the process requires some mechanical skill, patience, and attention to detail, it can save you money and give you a sense of accomplishment. If at any point you feel uncertain about tackling this job yourself, don’t hesitate to consult a professional mechanic. Your safety is paramount, and sometimes, it's best left to the experts. Remember, regular maintenance of your vehicle's braking system is essential for ensuring optimal performance on the road.