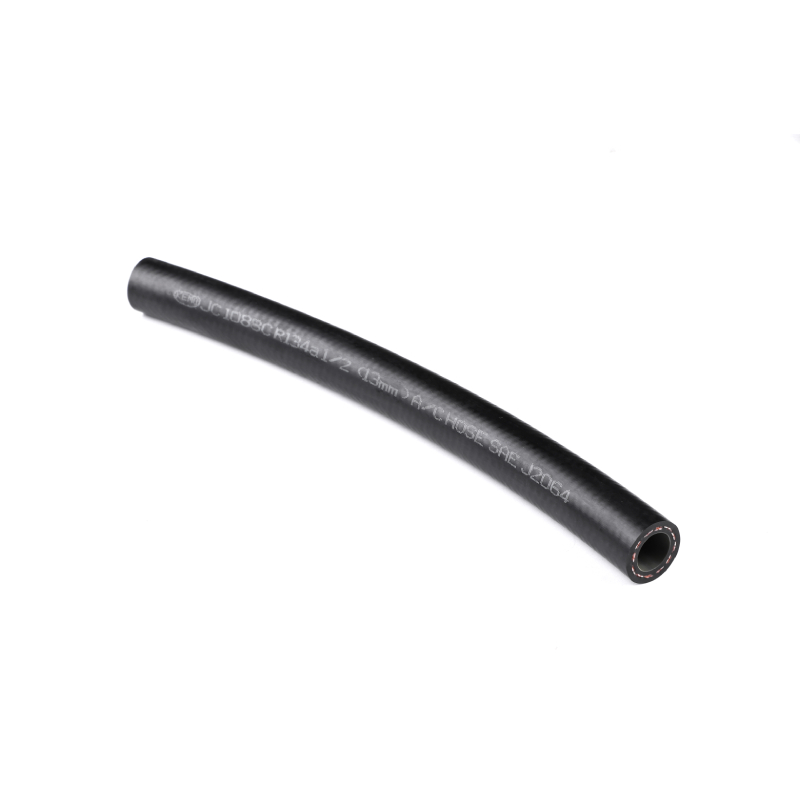
Steps to Replace Rear Brake Lines for Enhanced Vehicle Safety
دسمبر . 25, 2024 13:53 Back to list
Steps to Replace Rear Brake Lines for Enhanced Vehicle Safety
Replacing Rear Brake Lines A Step-by-Step Guide
Brake lines are a crucial part of any vehicle's braking system, responsible for transferring brake fluid from the master cylinder to the brake components. Over time, these lines can corrode, develop leaks, or become damaged, which can severely compromise your vehicle's braking efficiency. Replacing rear brake lines is an essential maintenance task that ensures the safety and performance of your car. In this article, we will outline the steps required to replace your rear brake lines effectively.
Tools and Materials Needed
Before embarking on this task, it's essential to gather the necessary tools and materials, which include
- Replacement brake lines (ensure that they are compatible with your vehicle) - Brake fluid - Wrenches (typically 7mm, 10mm, or 12mm, depending on your vehicle) - Cordless drill (for bolt removal, if necessary) - Brake line cutter - Flaring tool - Safety glasses - Brake cleaner - Rags or shop towels - Jack and jack stands
Step-by-Step Process
1. Safety First Begin by ensuring your safety. Park your vehicle on a level surface, engage the parking brake, and wear safety glasses throughout the process.
2. Lift the Vehicle Use a jack to lift the rear of your vehicle and secure it with jack stands. It is crucial to give yourself enough working space under the vehicle.
3. Locate the Brake Lines Once the vehicle is raised, locate the rear brake lines. They typically run along the frame, leading to the rear brake components. Inspect them for visible signs of wear, leaks, or corrosion.
replacing rear brake lines

4. Remove Old Brake Lines Start by using a wrench to disconnect the brake lines from the brake caliper and the brake distribution block. Be prepared to catch any brake fluid that leaks out during this process. Wear gloves and have rags handy to clean up any spills.
5. Cutting and Flaring (if necessary) If you need to replace sections of the brake line, use a brake line cutter to cut the lines. After cutting, you will need to flare the ends of the new line using a flaring tool to ensure a proper seal.
6. Install New Brake Lines Take the new brake lines and install them by connecting them to the brake caliper and the distribution block. Ensure that the connections are tight but avoid overtightening, as this can cause damage to the fittings.
7. Bleed the Brakes With the new lines in place, the next step is to bleed the brakes to remove any air that may have entered the system. This process involves finding the brake bleed screw, usually located on the brake caliper. Open the screw while a helper presses the brake pedal; this will allow air bubbles to escape. Close the screw before your helper releases the brake pedal and repeat this process until no more air bubbles emerge.
8. Fill with Brake Fluid After bleeding the brakes, top off the brake fluid reservoir with new brake fluid, ensuring that it meets the manufacturer's specifications. Check all connections for leaks once you’ve topped off the fluid.
9. Recheck and Test Drive Lower the vehicle and test the brakes by pressing the pedal a few times to build pressure. Once you’re confident everything is secure and functioning correctly, take the vehicle for a short test drive, making sure the brakes respond well.
Conclusion
Replacing rear brake lines is a task that can be tackled by most DIY enthusiasts with the right tools and precautions. Regular maintenance of your vehicle’s braking system is fundamental for safety on the road. If at any point you feel overwhelmed or unsure, don’t hesitate to consult a professional mechanic. A well-functioning braking system is not just about meeting regulations; it is about ensuring your safety and the safety of others on the road.
Latest news
-
Durable Automotive Fuel Line: Car, Diesel & E85 Hoses
NewsAug.27,2025
-
Automotive Fuel Line & Hose Solutions | E85 & Diesel Ready
NewsAug.26,2025
-
Reliable Automotive Fuel Line | E85 & Diesel Compatible
NewsAug.25,2025
-
Durable Car Heater Hose | Quality Automotive Preheater Pipes
NewsAug.24,2025
-
Durable Air Brake Hose & Air Lines for Trucks | Safety Ensured
NewsAug.23,2025
-
Air Conditioning Charging Hose: Durable AC Recharge Kits
NewsAug.22,2025
