patching a brake line
Лис . 03, 2024 00:40 Back to list
patching a brake line
Patching a Brake Line A Necessity for Safe Driving
Maintaining a vehicle is crucial for ensuring safety on the road, and one of the key components that require attention is the brake system. Among various components of the brake system, brake lines play a vital role in transferring hydraulic fluid from the brake master cylinder to the brake calipers or wheel cylinders. If you discover a leak in your brake line, it is essential to address the issue promptly. Patching a brake line can serve as a temporary fix, allowing you to restore brake functionality until a more permanent solution can be implemented.
Understanding Brake Lines
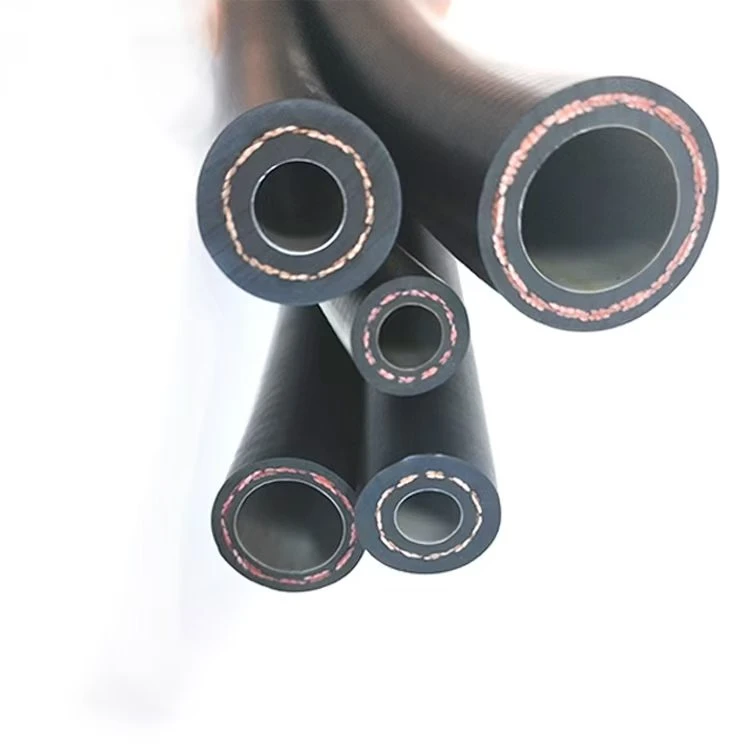
Brake lines are typically made of steel or reinforced rubber, designed to withstand high pressure. Over time, these lines can corrode, develop wear, or become damaged due to physical impact. A leak often manifests as a soft brake pedal or diminished braking effectiveness, increasing the risk of accidents. It’s crucial to identify the source of the leak before proceeding to patch it.
Tools and Materials Needed
To patch a brake line, you will need several tools and materials - Brake line repair kit (including tubing, fittings, and an appropriate sealant) - Wrenches (for removing the damaged section) - Tubing cutter - Brake fluid - Safety goggles and gloves
Steps to Patch a Brake Line
1. Safety First Before starting, ensure the vehicle is parked on a flat surface. Engage the parking brake and wear safety goggles and gloves to protect yourself from brake fluid, which can be corrosive.
2. Locate the Leak Inspect the brake lines for any visible signs of damage or fluid leakage. Spraying soapy water on the lines may help identify tiny leaks, as bubbles will form.
patching a brake line

3. Release Pressure Open the brake fluid reservoir cap to release any pressure from the system. This will prevent fluid from spraying when you cut the line.
4. Cut the Damaged Section Using a tubing cutter, carefully remove the damaged portion of the brake line. Ensure that the cut is clean, as this will help create a better seal when patching.
5. Install the Repair Fitting After removing the damaged section, attach the new fitting from your repair kit. Ensure it snugly fits both ends of the line and tighten it securely with a wrench.
6. Connect the New Tube If your kit includes a replacement tube, measure and cut the new section to the appropriate length. Secure it using the fittings.
7. Replenish Brake Fluid Refill the brake fluid reservoir as required. It’s important to use the fluid type recommended by your vehicle’s manufacturer.
8. Check for Leaks Once everything is reconnected, pump the brakes several times to build pressure. Inspect the repair area for leaks while someone else presses down on the brake pedal.
9. Test Drive If everything looks good, take your vehicle for a short test drive, paying attention to the brake response. If any issues arise, it is advisable to consult a professional mechanic.
Conclusion
While patching a brake line can serve as a temporary solution, it is important to recognize that this is not a substitute for a complete brake line replacement. Regular maintenance and inspection of vehicular components are essential for long-term safety. If you are uncomfortable performing this repair or if the damage is significant, seeking professional help is always the best course of action. Remember, reliable brakes are fundamental to safe driving, and taking action at the first sign of a problem can prevent disastrous consequences.
