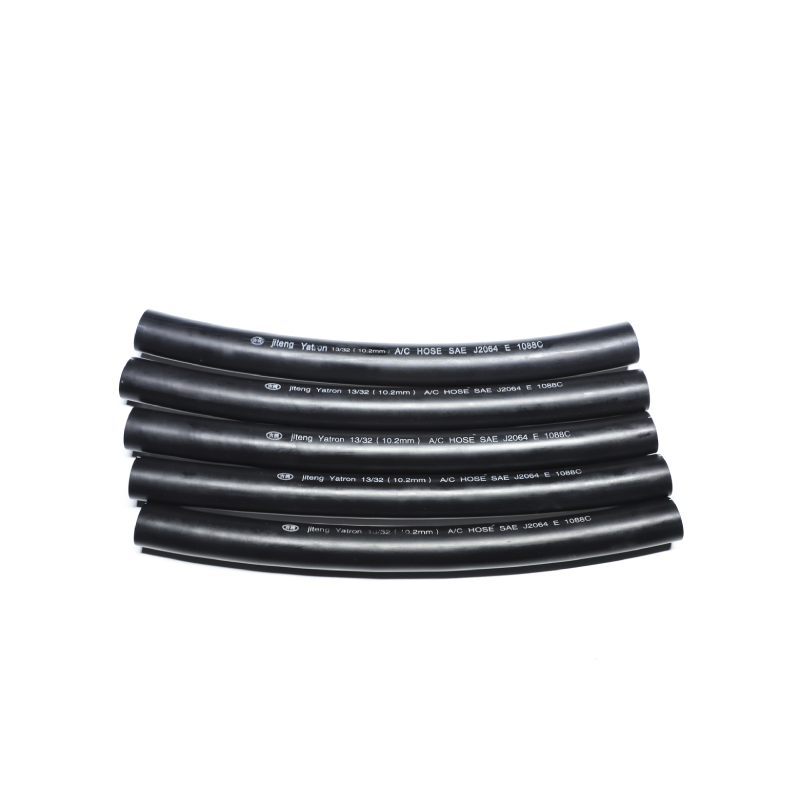
installing brake lines
Ноя . 24, 2024 08:08 Back to list
installing brake lines
Installing Brake Lines A Comprehensive Guide
Installing brake lines is a critical task that is often overlooked by many vehicle owners. Properly functioning brake lines are essential for ensuring a vehicle's braking system operates efficiently and safely. In this article, we will explore the importance of brake lines, the tools required for installation, and step-by-step instructions to help you install them correctly.
Brake lines are responsible for transferring brake fluid from the master cylinder to the brake calipers or wheel cylinders. They are typically made of metal or reinforced rubber, designed to withstand high pressure and harsh environmental conditions. Over time, brake lines can corrode, crack, or become damaged, leading to brake fluid leaks. This can severely impair the braking system, creating unsafe driving conditions.
Tools Needed for Installation
Before you begin the installation process, gather the necessary tools to ensure a smooth operation. You will need
1. Wrenches and Socket Set To disconnect and reconnect the old and new brake lines. 2. Brake Line Bender To create smooth bends in the new brake lines without kinks. 3. Tube Cutter For cutting the brake lines to the correct length. 4. Flaring Tool Used to create a proper flare on the ends of the brake lines for secure connections. 5. Brake Fluid To refill the system after installation. 6. Rags For cleaning up any spills and maintaining a clean work area.
Step-by-Step Installation Process
1. Preparation Start by ensuring your vehicle is parked on a flat surface. Engage the parking brake and wear safety goggles to protect your eyes from any debris. Disconnect the battery to prevent any electrical shocks.
installing brake lines

2. Remove Old Brake Lines Locate the damaged brake lines and use a wrench to disconnect them from the fittings. Be prepared for some brake fluid to leak out—having rags on hand will help mitigate messes.
3. Cut and Prepare New Brake Lines Measure the length of the old brake lines and cut the new lines to match, leaving a little extra length if necessary. Use the flaring tool to create a double flare on both ends of the new lines. This is crucial for ensuring a leak-free fit.
4. Bend the New Brake Lines Using the brake line bender, gently shape the new brake lines to route them correctly along the vehicle’s chassis without kinks. Proper bending will help avoid any potential wear or damage during driving.
5. Install New Brake Lines Connect one end of the new brake line to the master cylinder and the other end to the brake caliper or wheel cylinder. Tighten the connections securely, but avoid over-tightening as this could damage the fittings.
6. Refill Brake Fluid and Bleed the System Once the new lines are installed, refill the brake fluid reservoir. It’s essential to bleed the brakes to remove any air that may have entered the system during installation. Follow the correct bleeding procedure, starting with the wheel farthest from the master cylinder and moving towards the nearest.
7. Test the Brake System After completing the installation and bleeding process, test the brakes by pressing the brake pedal. It should feel firm and responsive. If any leaks are detected at the connections, recheck the fittings and tighten as necessary.
In conclusion, installing brake lines can be an accessible DIY project, provided you have the right tools and follow proper procedures. Ensuring your brake lines are in good condition is crucial for maintaining vehicle safety. If you feel uncertain at any point, do not hesitate to consult a professional mechanic for assistance. Always prioritize safety—your life and the lives of others depend on it.
