How to Change a Heater Hose for Your Vehicle's Cooling System
Dec . 09, 2024 20:17 Back to list
How to Change a Heater Hose for Your Vehicle's Cooling System
Replacing a Heater Hose A Step-by-Step Guide
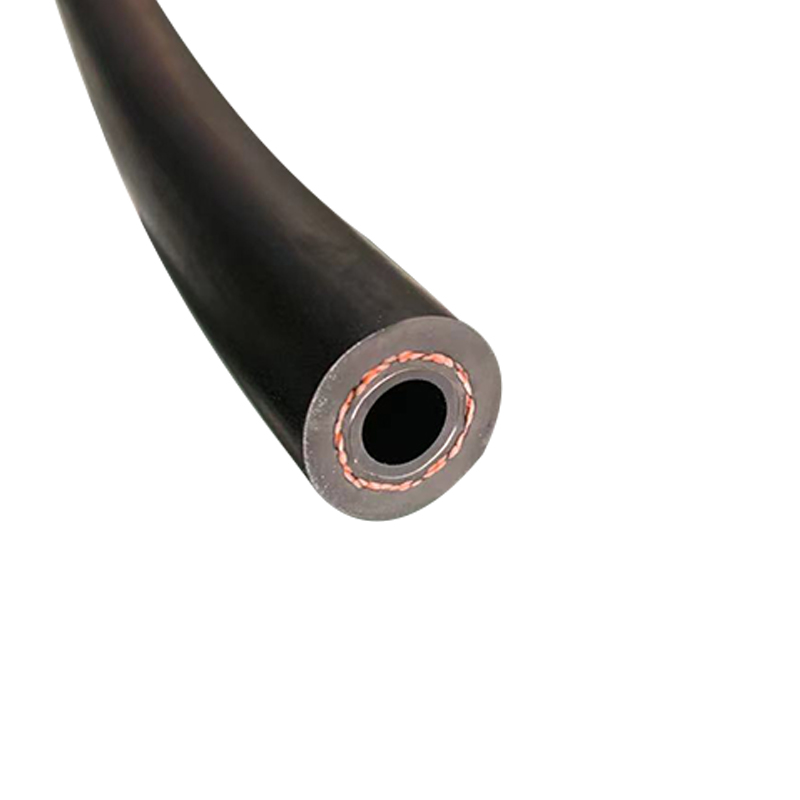
Maintaining your vehicle is an essential part of ensuring its longevity and optimal performance. One vital component that often requires replacement is the heater hose. The heater hose is responsible for transporting coolant from the engine to the heater core, which warms the cabin during cold weather. Over time, exposure to heat, pressure, and the elements can lead to wear and tear, causing leaks or even complete failure. This article will guide you through the process of replacing a heater hose, ensuring your vehicle remains comfortable and efficient.
Tools and Materials Needed
Before you begin the replacement process, gather the necessary tools and materials. For this task, you will need
1. A new heater hose (make sure it’s the correct size and type for your vehicle) 2. Hose clamps (if not included with the hose) 3. Pliers 4. Screwdriver 5. Wrench set 6. Bucket or drain pan 7. Coolant 8. A rag or towel for cleanup
Step 1 Safety First
Start by ensuring that your vehicle is parked on a level surface, with the engine turned off and cool to the touch. This is crucial for safety, as hot coolant can cause severe burns. Engage the parking brake and wear safety glasses to protect your eyes from any potential coolant splashes.
Step 2 Locate the Heater Hose
Open the hood and locate the heater hose. There are typically two heater hoses one that carries hot coolant from the engine to the heater core and another that returns the cooled coolant back to the engine. Follow the hoses from the engine block to the firewall, where they connect to the heater core.
Step 3 Drain the Coolant
Before removing the old heater hose, you’ll need to drain some of the coolant to avoid spills. Locate the radiator drain plug (usually at the bottom of the radiator) and place a bucket or drain pan underneath it. Open the plug and allow the coolant to drain. It's essential to only drain a small amount, as you’ll need some coolant in the system.
replacing heater hose

Step 4 Remove the Old Heater Hose
Using pliers or a screwdriver, loosen the hose clamps securing the heater hose to the engine and heater core. Carefully slide the clamps away from the hoses. You may need to twist the hose gently to break the seal, as corrosion can create a tight bond. Once free, pull the heater hose off the fittings, being cautious to catch any remaining coolant.
Step 5 Install the New Heater Hose
Take your new heater hose and compare it to the old one to ensure a proper fit. Attach one end of the new hose to the heater core first, pushing it in until it is secure. Slide the hose clamp back into place and tighten it with the appropriate tool. Repeat this process for the other end of the hose, connecting it to the engine.
Step 6 Refill the Coolant
Once the new hose is securely in place, it’s time to refill the coolant. Locate the radiator cap and remove it. Pour the appropriate type of coolant into the radiator, ensuring you do not overfill it. Replace the radiator cap securely.
Step 7 Test for Leaks
Start your vehicle and let it idle for a few minutes. Monitor the area around the new heater hose for any leaks. If you notice any coolant escaping, check the hose’s connections and make adjustments as necessary.
Conclusion
Replacing a heater hose may seem daunting, but with the right tools and a little patience, it can be accomplished in just a few hours. Regular maintenance of your vehicle’s cooling system ensures optimal performance and keeps your cabin warm during the cold months. By following these steps, you can ensure a successful replacement and contribute to your vehicle's overall health.
