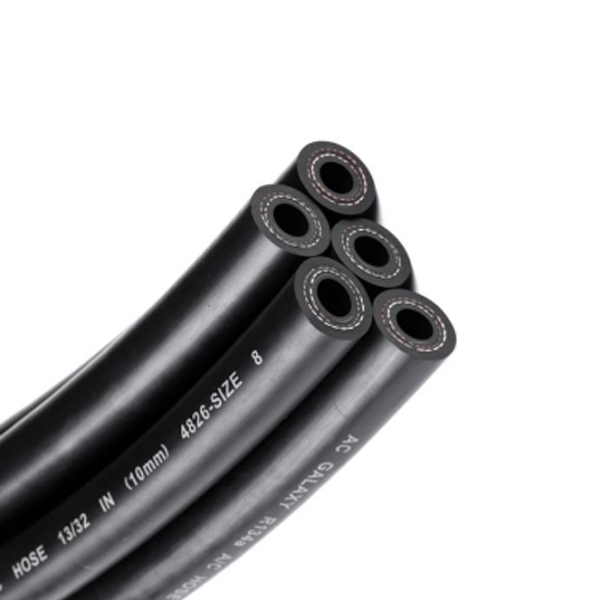
How to Replace Heater Core Hoses
Sep . 01, 2024 08:25 Back to list
How to Replace Heater Core Hoses
Replacing Heater Core Hoses A Step-by-Step Guide
Replacing the heater core hoses in your vehicle can seem intimidating, but with the right tools and a little patience, it's a manageable task that can save you both time and money. The heater core is essential for providing heat to the cabin of your car during the colder months, and its hoses play a crucial role in circulating coolant. Over time, these hoses can become brittle, cracked, or leaky, leading to inefficient heating and potential engine overheating. In this article, we will outline the steps necessary to replace your heater core hoses successfully.
Tools and Materials Needed
Before you start, gather the following tools and materials - New heater core hoses (specific to your vehicle's make and model) - Hose clamps - Screwdriver set - Pliers - Bucket or drain pan - Coolant - Safety glasses and gloves
Step 1 Safety First
Before beginning the replacement process, ensure your car is parked on a level surface and the engine is completely cool. Engage the parking brake for added safety, and wear safety glasses and gloves to protect yourself from coolant spills.
Step 2 Locate the Heater Core Hoses
Open the hood and locate the heater core hoses. These hoses usually run from the engine to the firewall behind the dashboard. One hose carries hot coolant to the heater core, while the other returns it to the engine. Familiarize yourself with the routing of these hoses, as this will make the installation of the new hoses easier.
Step 3 Drain the Coolant
Before removing the hoses, you'll need to drain some coolant from the system to prevent spills. Place a bucket or drain pan under the radiator drain plug. Open the plug and allow the coolant to flow until the level is low enough to avoid spillage when you remove the hoses.
replacing heater core hoses

Step 4 Remove the Old Hoses
Using pliers or a screwdriver, loosen the clamps at both ends of each hose. Carefully twist and pull the hoses off the fittings, making sure to catch any remaining coolant. Inspect the old hoses for any signs of failing, such as cracks or bulges, to understand the reason for replacement.
Step 5 Install the New Hoses
Take the new hoses and slide them over the fittings. Ensure a snug fit, then secure them in place with the hose clamps. Be mindful of the correct orientation—matching the routing of the old hoses can help prevent mistakes.
Step 6 Refill the Coolant
With the new hoses in place, it's time to refill the coolant. Use the manufacturer's recommended coolant type and mix it according to the instructions. Fill the radiator slowly and check for leaks around the new hoses as the system fills.
Step 7 Test Your Work
Start the engine and allow it to reach operating temperature. Check the heater function to ensure heat is being produced properly. Monitor for any signs of leaks around the hose connections.
Conclusion
By following these steps, you can successfully replace your heater core hoses and ensure your vehicle remains comfortable during colder months. Regular maintenance checks can help catch issues early, prolonging the life of your vehicle's heating system. If you encounter any complications or are unsure, don't hesitate to consult a professional mechanic for assistance. Happy driving!
