Linking Brake Lines for Enhanced Vehicle Safety and Performance
Sep . 28, 2024 02:40 Back to list
Linking Brake Lines for Enhanced Vehicle Safety and Performance
Connecting Brake Lines A Guide to Automotive Safety
When it comes to vehicle safety, one of the critical components that often goes overlooked is the brake system. Among its various parts, brake lines play a crucial role in ensuring that your vehicle can stop efficiently when needed. Understanding how to connect and maintain brake lines is essential for any car owner or enthusiast. This article will delve into the importance of brake lines and provide a concise guide on how to connect them safely and effectively.
The Importance of Brake Lines
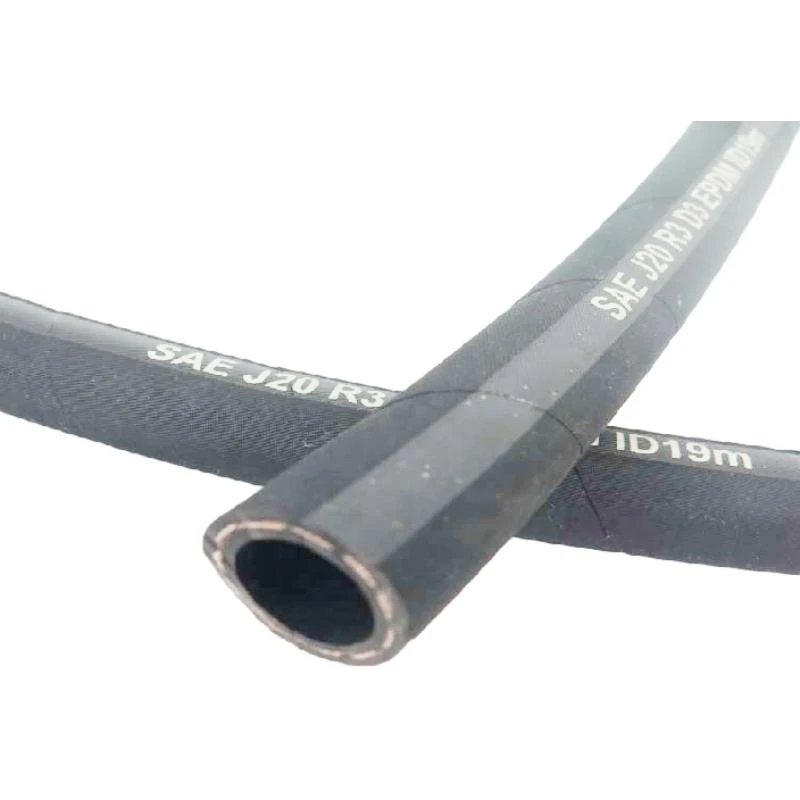
Brake lines are responsible for transmitting hydraulic pressure from the brake master cylinder to the brake calipers or drums. This process is crucial, as it converts the force applied on the brake pedal into enough pressure to stop the vehicle. Brake lines are typically made of either rubber or metal, with rubber being more common in older vehicles and metal being favored in modern designs for its strength and durability.
Over time, brake lines can wear out, develop leaks, or become damaged, leading to a significant decrease in braking performance or even complete brake failure. Therefore, it’s essential to inspect them regularly and replace or repair them when necessary. Knowing how to connect and maintain these lines can not only save money but also enhance your vehicle's safety.
Connecting Brake Lines Step-by-Step Guide
1. Preparation Before starting, ensure you have the necessary tools and materials. You’ll need a brake line wrench, tubing cutter, flaring tool kit, and of course, the replacement brake line. Make sure to have safety goggles and gloves to protect yourself.
2. Lift the Vehicle Use a jack to lift the vehicle and secure it with jack stands. This will give you better access to the brake lines underneath the chassis.
connecting brake lines

3. Removing the Old Brake Line Locate the section of the brake line you wish to replace. Use the brake line wrench to loosen the fittings. Be careful, as brake fluid can leak out during this process. It may be a good idea to place a catch basin underneath to collect any spills.
4. Cutting and Flaring the New Line If you are using a flexible brake line, measure and cut the replacement line to the appropriate length. If it’s a rigid line, use a tubing cutter. Next, use a flaring tool to create the necessary fittings at the end of the line. This is a critical step, as properly flaring the line ensures a tight, leak-free connection.
5. Connecting the New Brake Line Attach the new line to the master cylinder and brake caliper/drum. Make sure to tighten the fittings securely but avoid over-tightening, which can cause damage to the line or fittings.
6. Bleeding the Brakes After connecting the new line, you must bleed the brakes to remove any trapped air. This ensures the system works properly. You can do this by having an assistant pump the brake pedal while you open the bleeder valves on the brake calipers until no more air bubbles escape.
7. Final Checks Once you’ve finished bleeding the brakes, check for any leaks by inspecting the connections once more. Lower the vehicle and take it for a test drive to ensure everything is functioning smoothly.
Conclusion
Connecting brake lines is a task that, while straightforward, requires attention to detail and safety consideration. Understanding this process can empower car owners to take charge of their vehicle maintenance, improving not only their knowledge but also their safety on the road. Remember, if you are ever in doubt, consulting a professional mechanic is the best course of action to ensure your vehicle is in top condition. Your safety is worth it!
