Crafting Custom Brake Lines for Enhanced Vehicle Safety and Performance in Automotive Applications
Avg . 06, 2024 07:37 Back to list
Crafting Custom Brake Lines for Enhanced Vehicle Safety and Performance in Automotive Applications
Making Brake Lines A Guide to Ensuring Safety and Performance
When it comes to vehicle safety, one of the most critical components is the braking system. The effectiveness of brakes largely relies on the integrity of the brake lines. Over time, brake lines can deteriorate, leading to leaks or failure, which can have dire consequences. Therefore, understanding how to make and maintain brake lines is essential for any automotive enthusiast or professional mechanic.
Understanding Brake Lines
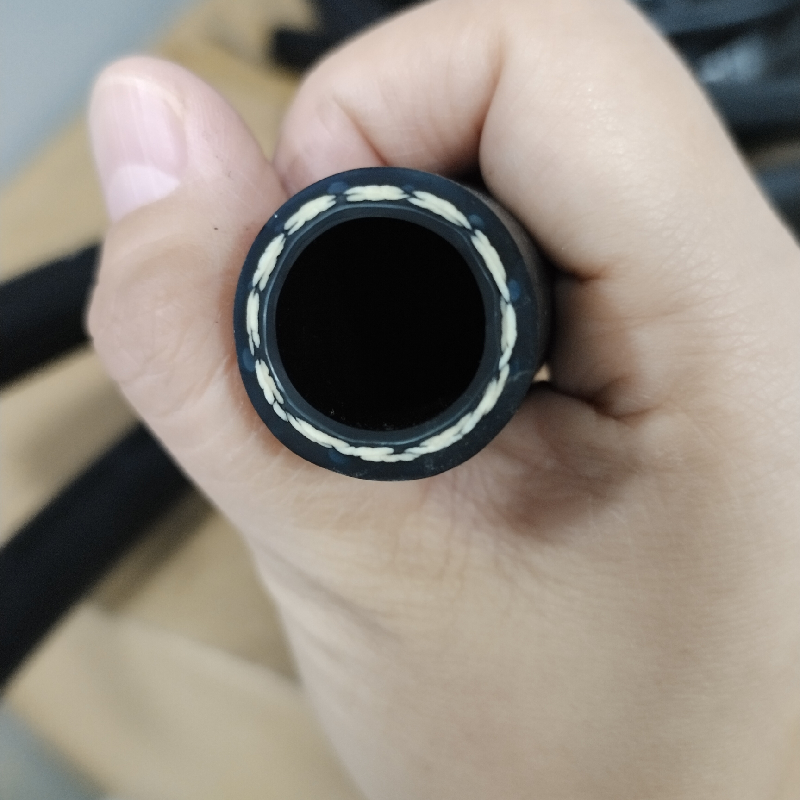
Brake lines are tubes that carry brake fluid from the master cylinder to the brake calipers or wheel cylinders. They are typically made from materials such as steel or copper, which are designed to withstand high pressures. Rubber hoses are used in flexible areas to accommodate suspension movement. Given their importance, ensuring that brake lines are in good condition is crucial for optimal braking performance.
Tools and Materials Needed
Before starting the process of making brake lines, it is important to gather the necessary tools and materials
. You will need1. Brake Line Tubing This can be copper, steel, or stainless steel; choose based on your specific requirements. 2. Brake Line Bender This tool helps shape the tubing without crimping or damaging it. 3. Flares and Flaring Tools Used to create a tight seal at the ends of the brake lines. 4. Brake Line Connectors and Fittings These will connect your lines to the master cylinder and brakes. 5. Brake Fluid Essential for ensuring the proper functioning of the braking system. 6. Protective Gear Safety glasses and gloves to protect yourself while working.
Steps to Making Brake Lines
making brake lines

1. Measure and Cut the Line Begin by determining the length of the brake line required. It is always better to cut a little longer than needed, as you can trim it down later. Use a tubing cutter for a clean cut.
2. Bend the Line Using the brake line bender, carefully shape the line to fit the desired path in the vehicle. Avoid kinks, as they can weaken the line and cause leaks.
3. Create Flares The ends of the brake line must be flared to ensure a secure connection. Use a flaring tool to create a double flare, which provides a stronger and more reliable seal than a single flare.
4. Install the Fittings Attach the connectors and fittings to the flared ends of the line. Ensure that they are snug and leak-proof.
5. Routing the Lines Install the brake lines in the vehicle by routing them away from any moving parts or areas that generate excessive heat. Secure the lines using brackets and clamps to prevent shifting.
6. Testing for Leaks Once everything is installed, refill the brake system with brake fluid. Pump the brakes to build pressure and carefully inspect the lines for any signs of leaks. If you notice any issues, recheck your connections and fittings, and make necessary adjustments.
Conclusion
Making your own brake lines can be a rewarding task that not only saves money but also enhances your understanding of vehicle mechanics. Whether you are restoring a classic car or maintaining a daily driver, ensuring that your brake lines are properly made and installed is vital for safety and performance. Always prioritize quality materials and workmanship, as the safety of the vehicle and its occupants depends on reliable braking capabilities. Regular inspections and maintenance can further ensure that your brake lines remain in top condition, providing peace of mind every time you hit the road.
