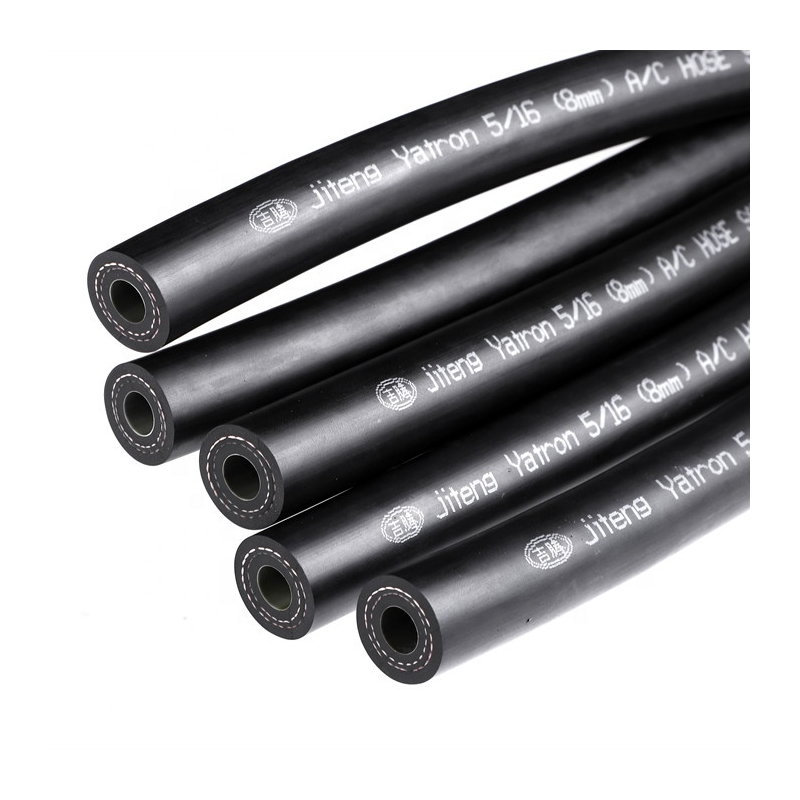
replacing brake pipes
ਸਤੰ. . 15, 2024 22:11 Back to list
replacing brake pipes
Replacing Brake Pipes A Comprehensive Guide
Brake pipes are an essential component of any vehicle's braking system, responsible for transporting brake fluid from the master cylinder to the brake calipers or wheel cylinders. Over time, these pipes can become corroded, damaged, or develop leaks, which can compromise the safety and efficiency of the braking system. Therefore, replacing brake pipes is a critical task that every vehicle owner should be aware of. In this article, we will discuss the importance of brake pipes, signs indicating they need replacement, and a step-by-step guide to replacing them.
Why Are Brake Pipes Important?
Brake pipes are made of materials that can withstand high pressure and the corrosive nature of brake fluid. They play a crucial role in ensuring that your brakes respond instantaneously when you press the pedal. If a brake pipe fails, it can result in a complete brake failure, leading to serious accidents. Thus, ensuring that your brake pipes are in good condition is paramount for vehicle safety.
Signs Your Brake Pipes Need Replacement
1. Visible Corrosion or Rust If you can see rust or corrosion on the pipes, it’s a clear sign that they need to be replaced. 2. Brake Fluid Leaks Puddles of brake fluid under your vehicle can indicate a leak in one or more pipes. 3. Soft Brake Pedal If your brake pedal feels softer than usual or sinks to the floor, it might be due to air trapped in the brake system caused by leaking brake pipes. 4. Warning Light Some vehicles have a dashboard light that indicates a problem with the braking system, which could be related to brake pipes.
Replacing Brake Pipes A Step-by-Step Guide
1. Gather Tools and Materials You will need a replacement brake pipe, flare nut wrench, tubing cutter, a bender for the new pipe, and brake fluid for bleeding the system.
replacing brake pipes

2. Prepare the Vehicle Safely lift the vehicle with a jack and secure it with jack stands. Ensure you have enough space to work and that the vehicle is on a flat surface.
3. Remove the Damaged Pipe Use the flare nut wrench to disconnect the damaged brake pipe from its fittings. Be careful to avoid damaging adjacent pipes or components.
4. Measure and Cut the New Pipe Using the old pipe as a reference, measure the length needed for the new pipe. Cut the new pipe to size using a tubing cutter.
5. Bend the New Pipe Use a pipe bender to shape the new pipe to fit the route of the old one. This step is crucial to avoid kinks that may restrict fluid flow.
6. Install the New Pipe Connect the new brake pipe to the master cylinder and brake caliper or wheel cylinder. Ensure that the connections are tight but be careful not to overtighten, which can damage fittings.
7. Bleed the Brake System After installing the new pipe, it’s essential to bleed the brake system to remove any air. Start from the wheel farthest from the master cylinder and work your way closer.
8. Test the Brakes Before driving, pump the brake pedal a few times to ensure that it feels firm. Check for any leaks around the new pipe.
In conclusion, replacing brake pipes is a fundamental aspect of maintaining your vehicle’s braking system. By being aware of the signs of wear and knowing how to replace them, you can ensure a safer driving experience. If you're ever in doubt, it's always best to consult with a professional mechanic to handle brake repairs. Safety should always come first.
Latest news
-
Durable Car Heater Hose | Quality Automotive Preheater Pipes
NewsAug.24,2025
-
Durable Air Brake Hose & Air Lines for Trucks | Safety Ensured
NewsAug.23,2025
-
Air Conditioning Charging Hose: Durable AC Recharge Kits
NewsAug.22,2025
-
Premium 4890 AC Hose | Durable & Perfect Fit Replacement
NewsAug.21,2025
-
High-Quality AC Hose: Compressor to Evaporator for Car
NewsAug.19,2025
-
Glass Storage Jar with Acacia Vacuum Vented Cover - HEBEI KEMO|Thermal Resistance, Food-Grade Safety, Eco-Friendly
NewsAug.18,2025
