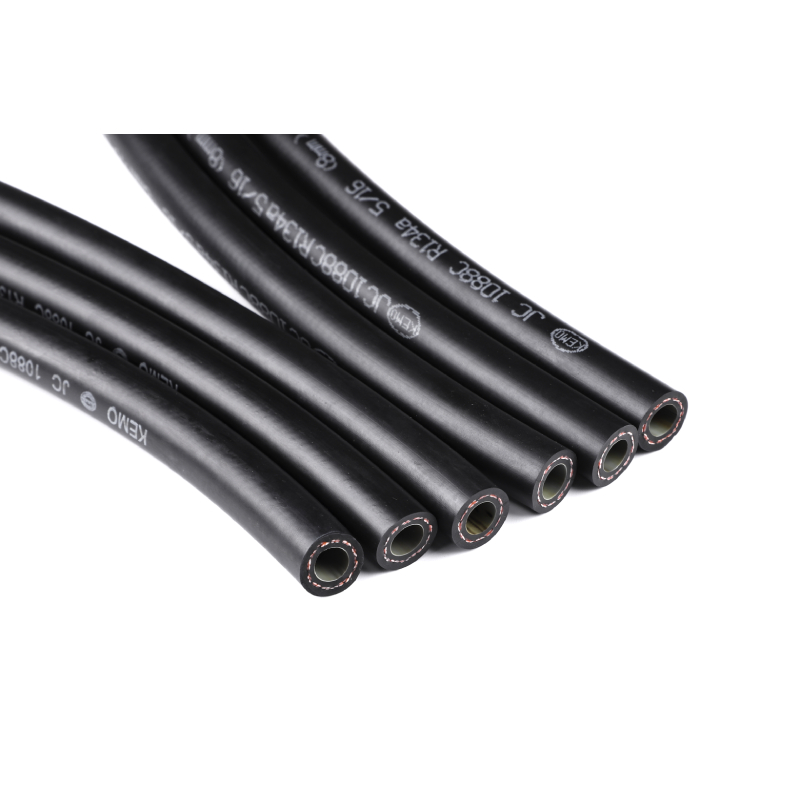
making brake lines
ਨਵੰ. . 30, 2024 09:56 Back to list
making brake lines
Understanding How to Make Brake Lines A Comprehensive Guide
When it comes to automotive maintenance and repair, few components are as critical as brake lines. These lines are essential for ensuring that your vehicle can effectively stop and operate safely. Whether you're a professional mechanic or a DIY enthusiast, understanding how to make brake lines is a valuable skill. In this article, we will explore the materials, tools, and steps needed to successfully create and install brake lines.
Understanding Brake Lines
Brake lines are the tubes that carry brake fluid from the master cylinder to the brake calipers and wheel cylinders. They are typically made from a durable material that can withstand high pressures and resist corrosion. There are two main types of brake lines rigid and flexible. Rigid lines are used primarily for the main lines running along the vehicle frame, while flexible lines are used at the wheel assembly to accommodate movement of the suspension.
Materials Needed
To make brake lines, you will need specific materials and tools
1. Brake Line Tubing Tubing is usually made from materials such as steel, copper, or stainless steel. Stainless steel is highly recommended due to its resistance to rust and corrosion. 2. Brake Fittings These are used to connect the brake lines to the vehicle's brake system. Ensure you have the correct size and type for your application.
4. Cutting Tool A pipe cutter will provide a clean cut on the brake tubing.
5. Wrenches A set of wrenches will be necessary for tightening fittings during installation.
6. Safety Gear Gloves and goggles are essential for protection while working.
making brake lines

Step-by-Step Guide to Making Brake Lines
1. Measure and Cut the Brake Line Using a measuring tape, determine the length of the brake line you need. Measure carefully to avoid any errors that could compromise your brakes’ performance. Once you have measured, use a pipe cutter to cleanly cut the tubing to the desired length.
2. Create the Flare Attach the brake line to the flare tool and use it to create a 45-degree flare at one end of the tubing. This flare will ensure a tight seal against the brake fitting. Follow the instructions on your flare tool to achieve the best results.
3. Attach the Fitting Once the flare is complete, thread the appropriate fitting onto the flared end of the brake line. Ensure that it is hand-tightened before tightening it with a wrench. Avoid overtightening, as this can damage the flare.
4. Route the Brake Line Carefully route the brake line along the designated path in your vehicle. Make sure it is secured in place using clips or brackets to prevent any movement that may damage the line or surrounding components.
5. Connect the Brake Line Once the brake line is properly routed, connect it to the other end of the brake system, whether it’s the master cylinder or wheel cylinder. Ensure that all connections are secure.
Final Steps Testing and Maintenance
After you’ve installed the brake lines, it’s crucial to bleed the brake system to remove any air trapped in the lines. Air can lead to a spongy brake pedal and reduced braking power. Follow the appropriate bleeding procedure for your vehicle model.
Once bled, test the braking system in a safe environment. Make sure the brakes engage smoothly, and look for any signs of leaks around the connections. Regularly inspect your brake lines for signs of wear and replace them as necessary to maintain optimal safety and performance.
Conclusion
Making brake lines may seem daunting at first, but with the right materials, tools, and techniques, you can accomplish it successfully. Remember that brakes are one of the most vital components for vehicle safety, so attention to detail is key. Whether you are replacing worn lines or customizing your own setup, this skill can enhance your automotive knowledge and capabilities, ensuring safer driving experiences on the road.
