changing flexible brake hoses
ਅਕਤੂਃ . 31, 2024 02:50 Back to list
changing flexible brake hoses
Changing Flexible Brake Hoses A Comprehensive Guide
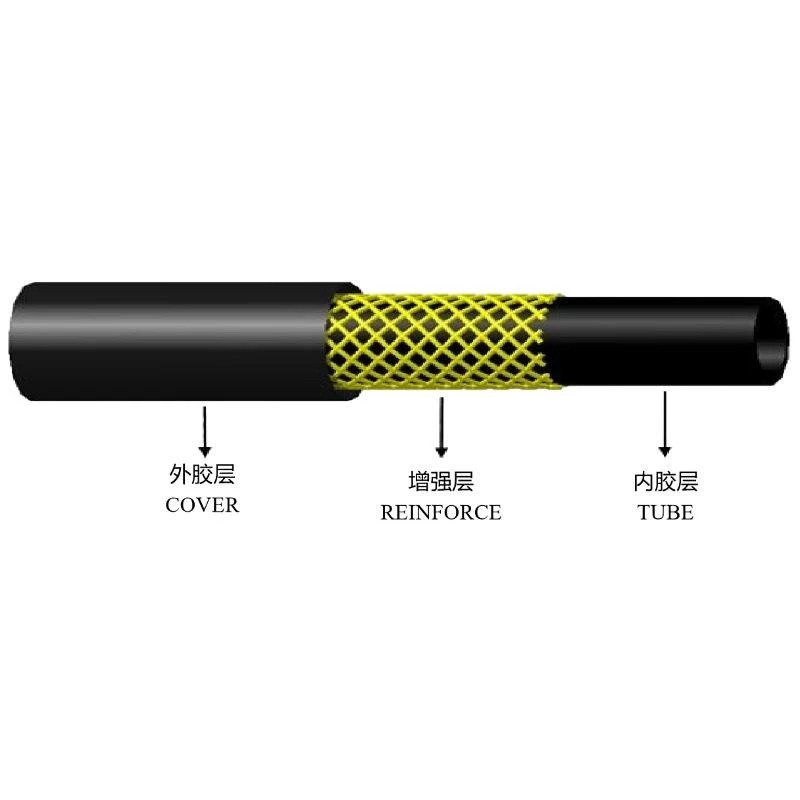
Changing flexible brake hoses is an essential maintenance task for ensuring the safety and performance of your vehicle's braking system. Flexible brake hoses, typically made of rubber, allow for movement and flexibility in the braking system as the wheels turn and the suspension compresses. Over time, these hoses can crack, become brittle, or even burst, jeopardizing the effectiveness of your brakes. Here’s a comprehensive guide to help you understand how to change flexible brake hoses safely and effectively.
Tools and Materials Needed
Before starting, ensure you have the following tools and materials - New flexible brake hoses - Brake fluid - Brake line wrench - Socket and ratchet set - Pliers - A container for catching old brake fluid - Jack and jack stands - Safety goggles and gloves
Step-by-Step Process
1. Preparation Park your vehicle on a level surface and engage the parking brake. Place wheel chocks behind the wheels for added safety. Wear safety goggles and gloves to protect against brake fluid splashes.
2. Lift the Vehicle Using a jack, lift the vehicle and secure it on jack stands. Ensure the vehicle is stable before proceeding.
3. Locate the Brake Hoses Identify the flexible brake hoses at each wheel. They connect the brake lines to the brake calipers on disc brakes or wheel cylinders on drum brakes.
changing flexible brake hoses

4. Remove the Old Hose Start by using a brake line wrench to loosen the fittings on both ends of the old hose. Be prepared for excess brake fluid to escape, so position your container underneath. Carefully remove the old hose once the fittings are disconnected.
5. Install the New Hose Take the new flexible brake hose and install it in the reverse order of removal. Ensure that all connections are tight but avoid overtightening, which can damage the fittings.
6. Bleed the Brakes After the new hose is secured, it’s crucial to bleed the brakes to remove any air from the system. This process may vary depending on your vehicle, but generally, you will need an assistant to pump the brake pedal while you open and close the bleeder screws on the brake calipers or cylinders.
7. Check Brake Fluid Levels Once bleeding is complete, check the brake fluid level in the master cylinder and top it off as needed.
8. Final Inspection Before lowering the vehicle, double-check all connections and ensure there are no leaks.
9. Test Drive After reassembling everything, take the vehicle for a short test drive to ensure the brakes are functioning correctly. Be attentive to any unusual noises or sensations.
Conclusion
Changing flexible brake hoses is a vital task for any vehicle owner who prioritizes safety. With the right tools and a little patience, you can accomplish this task yourself, potentially saving money on labor costs while gaining confidence in your mechanical skills. Always remember to consult your vehicle's manual for specific instructions and recommendations. Safe driving starts with a reliable braking system!
