changing a power steering hose
ਨਵੰ. . 06, 2024 17:47 Back to list
changing a power steering hose
Changing a Power Steering Hose A Step-by-Step Guide
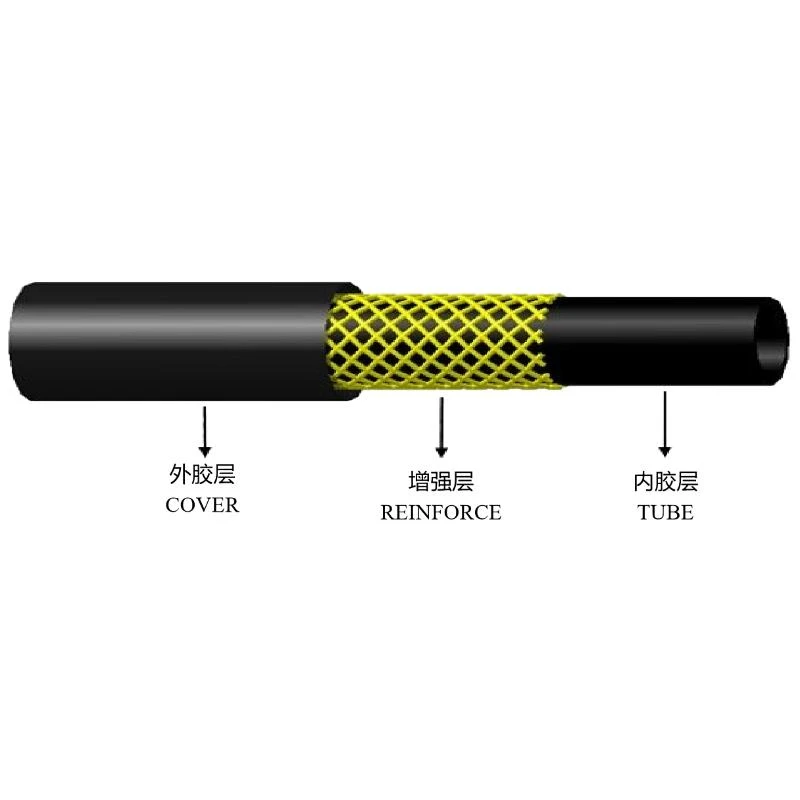
Power steering is an essential component of modern vehicles, providing the driver with ease of steering and control. Over time, the power steering hose can become damaged due to wear and tear, leading to leaks or loss of hydraulic fluid. Changing a power steering hose is a manageable task for those with basic mechanical skills. This article will guide you through the process of replacing a power steering hose to ensure your vehicle’s steering system functions optimally.
Tools and Materials Needed
Before starting the job, gather the necessary tools and materials. You will need
- A new power steering hose (specific to your vehicle) - A socket set - A wrench set - Pliers - A fluid catch pan - Power steering fluid - Rags for cleanup - Safety goggles and gloves
Step 1 Prepare the Vehicle
Begin by ensuring your vehicle is parked on a level surface and the engine is turned off. Engage the parking brake for safety. If the engine has been running, allow it to cool down to avoid burns. It is advisable to disconnect the battery to prevent any electrical issues while working.
Step 2 Locate the Power Steering Hose
The power steering hoses are usually located near the front of the engine. Consult your vehicle’s service manual if you have trouble locating them. There are typically two types of hoses the high-pressure hose, which carries fluid from the pump to the steering gear, and the low-pressure return hose.
Step 3 Drain the Power Steering Fluid
Place a fluid catch pan under the power steering pump and carefully disconnect the hose from the pump using a socket or wrench. Be prepared for some fluid to spill out, so allow it to drain fully into the catch pan. Once drained, clean the area to prevent dirt from entering the system.
changing a power steering hose

Step 4 Remove the Old Hose
Now, use pliers or a wrench to remove the clamps holding the power steering hose in place. Carefully slide the hose off, taking note of how it is connected. If the hose is stubborn due to corrosion or debris, a little twisting may help free it.
Step 5 Install the New Hose
Before installing the new hose, compare it with the old one to ensure it matches in length and diameter. If everything looks correct, begin by connecting the new hose to the pump, ensuring that it is seated properly and secure it with hose clamps. Then, connect the other end to the steering gear or reservoir as required.
Step 6 Refill and Bleed the System
Once the new hose is secured, refill the power steering fluid through the reservoir cap. It’s crucial to use the recommended type of power steering fluid specified in the vehicle’s manual. After filling, start the engine and turn the steering wheel from lock to lock several times. This helps bleed any air from the system. Check for any leaks at the hose connections.
Step 7 Final Checks
After the system has been bled, recheck the fluid level and top it off if necessary. Lastly, clean up any spilled fluid and dispose of the old hose and fluid properly.
Conclusion
Changing a power steering hose may seem daunting, but with the right tools and steps, it’s an achievable DIY project. Regular maintenance of your vehicle’s steering system not only enhances performance but also ensures your safety on the road. Always refer to your vehicle’s manual for specific instructions related to your make and model, and don’t hesitate to seek professional assistance if needed.
