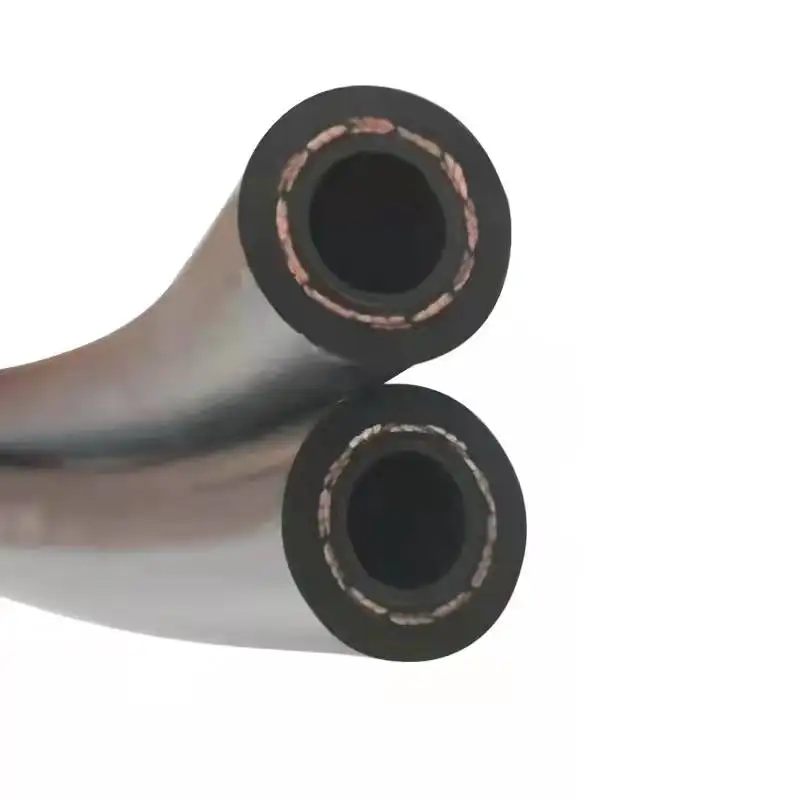
installing new brake lines
नोव्हेंबर . 04, 2024 16:51 Back to list
installing new brake lines
Installing New Brake Lines A Step-by-Step Guide
Installing new brake lines is a crucial maintenance task for vehicle safety and performance. Brake lines, which transport hydraulic fluid from the master cylinder to the brake components, can wear out over time due to corrosion, abrasion, or heat. Replacing old or damaged brake lines not only ensures better braking efficiency but also enhances overall vehicle safety. Here’s a guide on how to properly install new brake lines.
Tools and Materials Needed
Before you begin, gather the necessary tools and materials new brake lines, a brake line flaring tool, a tubing cutter, a wrench set, brake line fittings, and a suitable brake fluid. Additionally, wear safety glasses and gloves to protect yourself during the process.
Step 1 Prepare the Vehicle
Start by parking the vehicle on a flat surface and engaging the emergency brake. It’s crucial to ensure the vehicle is secure before you start working. Loosen the lug nuts on the wheels and raise the vehicle using a jack. Secure it with jack stands and remove the wheels for better access to the braking system.
Step 2 Remove Old Brake Lines
Locate the old brake lines. Before removing them, use a wrench to disconnect the fittings attached to the brake components. Be prepared for brake fluid to leak; it’s a good idea to have rags handy to catch any spills. Use the tubing cutter to carefully cut the brake lines at suitable points, ensuring you can easily maneuver them out.
Step 3 Measure and Cut New Brake Lines
installing new brake lines

Once the old lines are removed, measure them to determine the correct length for the new brake lines. Using the tubing cutter, cut the new brake lines to the appropriate size. It’s essential to ensure that the new lines fit correctly to avoid any unnecessary stress on the connections.
Step 4 Flaring the Ends
After cutting the new lines, use a flaring tool to create proper flares on the ends. This step is crucial for ensuring a tight and leak-free connection when attaching the lines to the brake components.
Step 5 Install the New Brake Lines
Carefully install the new brake lines by attaching the flared ends to the brake components and tightening the fittings securely. Make sure to route the lines properly, avoiding any sharp edges or moving parts that could damage them over time.
Step 6 Bleed the Brakes
With the new lines in place, it’s time to bleed the brakes to remove any air from the system. This step is essential for maintaining optimal braking performance. Follow the manufacturer’s instructions for bleeding the brakes and refill the brake fluid reservoir as needed.
Conclusion
Installing new brake lines can seem daunting, but with proper preparation and attention to detail, it’s a manageable task. Regular maintenance of your braking system is vital for safety, and addressing brake line issues promptly can prevent more significant problems down the road. Always consult your vehicle’s manual for specific instructions and safety guidelines.
