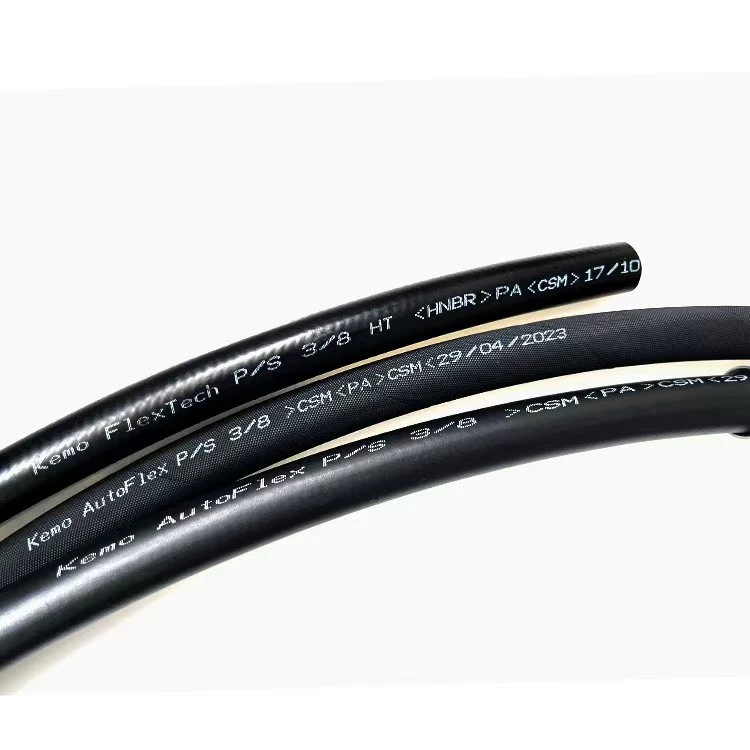
replacing heater hose
ഡിസം . 15, 2024 22:54 Back to list
replacing heater hose
Replacing Heater Hose A Comprehensive Guide
The heater hose is a critical component of your vehicle's cooling system. It plays a vital role in transferring engine coolant to and from the heater core, allowing for effective heating of the passenger cabin during colder months. Over time, these hoses can deteriorate due to high temperatures, pressure, and the corrosive nature of engine fluids. When you notice signs of wear, it’s essential to replace the heater hose promptly to prevent overheating and potential damage to your engine. In this guide, we will walk you through the process of replacing a heater hose, ensuring that you tackle the job with confidence.
Understanding the Signs of a Failing Heater Hose
Before you dive into the replacement process, it's important to identify if your heater hose needs replacing. Common signs of a failing heater hose include
1. Leaking Coolant Puddles of coolant under your vehicle or wet spots on the hose are clear indicators of a leak. 2. Deterioration Inspect the hose for cracks, bulges, or signs of wear. A hose that feels soft or mushy is not healthy. 3. Overheating Engine If your engine is running hotter than normal, a compromised heater hose might be the culprit, restricting coolant flow. 4. Unpleasant Odor A sweet smell emanating from the engine compartment can indicate coolant leakage.
Tools and Materials Needed
To replace a heater hose, you’ll need the following tools and materials
- Replacement heater hose - Hose clamps - Screwdriver or pliers - Coolant - Bucket or container to catch any spilling coolant - Gloves and safety goggles
Step-by-Step Replacement Process
1. Preparation Begin by parking your vehicle on a level surface and turning off the engine. Allow it to cool completely before starting any work to avoid burns.
replacing heater hose

2. Locate the Heater Hose The heater hose is typically located between the engine and the firewall, connected to the heater core. Reference your vehicle’s service manual for specific locations.
3. Drain Coolant Place a bucket underneath the engine to catch any coolant that may spill out. Carefully loosen the radiator cap to relieve pressure, then drain the coolant through the radiator drain plug, or simply allow it to drain from the removed hose.
4. Remove the Old Hose Using pliers or a screwdriver, loosen the clamps securing the heater hose at both ends. Slide the clamps away from the connectors and gently twist the hose to detach it from the fittings. Be cautious and ensure to catch any residual coolant that may spill.
5. Install the New Hose Take your replacement heater hose and slide it onto the fittings, ensuring a snug fit. Reattach the hose clamps, ensuring they are tightened adequately to prevent any leaks.
6. Reconnect the Coolant System After installing the new heater hose, reconnect the drainage plug and start to refill the coolant. Follow your vehicle's guidelines for the proper coolant mixture and level.
7. Check for Leaks Start the engine and let it run for a few minutes while checking for any leaks around the newly installed hose. Keep an eye on the temperature gauge to ensure the engine remains at a safe operating temperature.
8. Dispose of Old Coolant Responsibly Remember to dispose of any old coolant properly, as it is toxic and harmful to the environment.
Conclusion
Replacing a heater hose may seem like a daunting task, but with the right tools and a little patience, it can be accomplished successfully. Regularly inspecting your vehicle’s hoses and cooling system can prevent unexpected breakdowns and prolong the life of your car. If at any point you feel unsure, it’s always best to consult with a professional mechanic. Keep your vehicle in top shape, and you’ll be ready to tackle any weather conditions, ensuring comfort and safety on the road.
