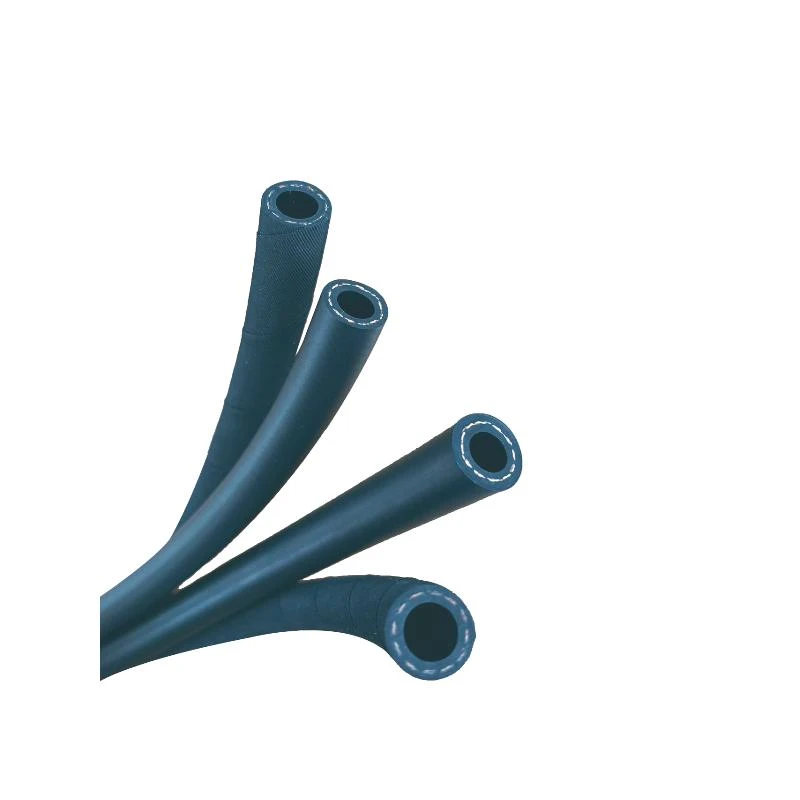
Patching a Brake Line - Step-by-Step Guide
Rgs . 06, 2024 17:58 Back to list
Patching a Brake Line - Step-by-Step Guide
Patching a Brake Line A Step-by-Step Guide
Brake lines are crucial components of a vehicle's braking system, responsible for transferring brake fluid from the master cylinder to the brake calipers. Over time, these lines can develop leaks due to corrosion, wear, or physical damage. Addressing a leaking brake line is not only vital for vehicle safety but can also save money by avoiding costly repairs at a mechanic. Below is a step-by-step guide on how to patch a brake line effectively.
Tools and Materials Needed
Before starting the process, gather the necessary tools and materials. You will need - Brake line repair kit - Wrenches and sockets - Pipe cutter or hacksaw - Brake line bender - Brake fluid - Safety goggles and gloves - Rags for cleanup
Safety First
It’s important to prioritize safety. Start by wearing safety goggles and gloves to protect yourself from any brake fluid, which can be corrosive. Ensure your vehicle is on a flat surface, and engage the parking brake. If needed, lift the vehicle with jack stands for better accessibility to the brake lines.
Identify the Damaged Section
Locate the damaged brake line. Inspect the entire length of the line for signs of corrosion, leaks, or physical damage. Once you've identified the affected section, clean the area around it to prevent any debris from contaminating the brake fluid system.
Prepare for Patching
patching a brake line

Using a pipe cutter or hacksaw, remove the damaged section of the brake line. Make sure to cut the line at least one inch on either side of the damage to ensure a clean patch. After cutting, use a file or sandpaper to smooth out any rough edges which can cause stress points in the line.
Install the Patch
Follow the instructions provided in your brake line repair kit. Most kits come with a section of flexible tubing and connectors. Use the brake line bender to shape the new line as needed, ensuring it fits snugly within the existing framework of the vehicle. Connect the patch line using the provided hardware, ensuring there are no leaks. Tighten the fittings with the appropriate wrench, but be cautious not to overtighten as this can cause damage.
Refill and Check the Brake Fluid
Once the patch is secured, it’s time to refill the brake system with fresh brake fluid. Make sure to use the fluid recommended by your vehicle’s manufacturer. After filling, pump the brake pedal several times to ensure the system is pressurized and any air bubbles are expelled.
Test for Leaks
Before taking your vehicle on the road, it is crucial to test for leaks. Start the engine and check all connections—look for any signs of fluid seeping from the patched area. If you notice any leaks, tighten the connections further and wipe any excess fluid.
Final Thoughts
Patching a brake line can be a straightforward process for those with basic mechanical skills. However, if at any point you feel unsure or encounter complications, it is always best to consult a professional mechanic. Remember, the braking system is integral to your vehicle’s safety; ensuring that all components are functioning correctly is paramount. With careful attention and the right tools, you can effectively patch a brake line and keep your vehicle safe on the road.
