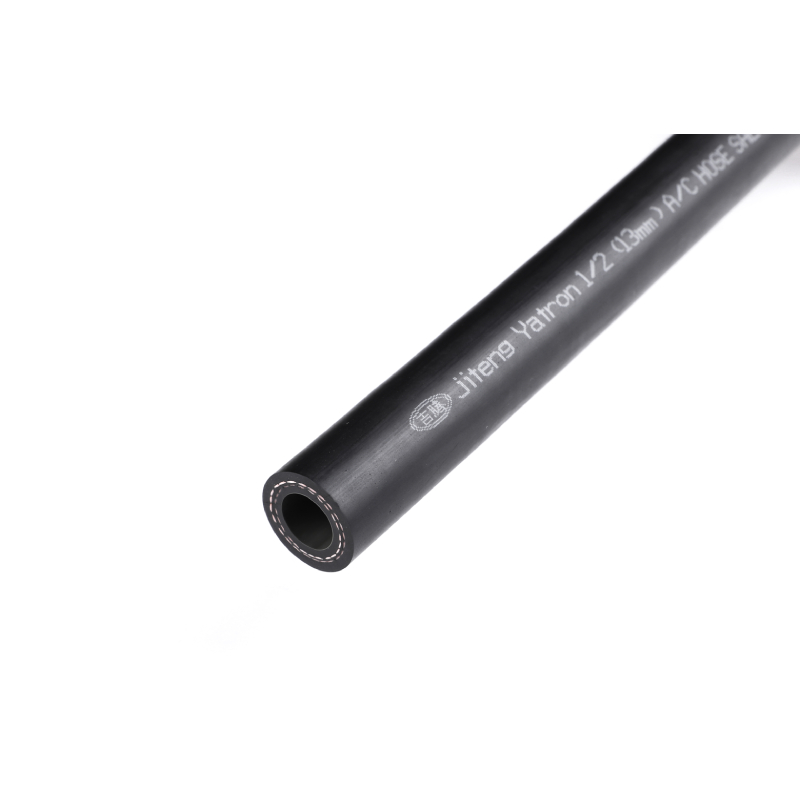
Repairing a Brake Line for Your Vehicle's Optimal Performance and Safety
Spa . 04, 2024 19:45 Back to list
Repairing a Brake Line for Your Vehicle's Optimal Performance and Safety
Fixing a Brake Line A Step-by-Step Guide
Having a properly functioning brake line is crucial for your vehicle’s safety. A damaged brake line can lead to brake failure, putting you and others at risk. Fortunately, with the right tools and some basic mechanical knowledge, you can fix a brake line yourself. This article will guide you through the process, ensuring you have a safe and effective repair.
Tools and Materials
Before diving into the repair, gather the necessary tools and materials. You will need
- Brake line tubing (usually copper or stainless steel) - Brake line fittings and flare nuts - Tube cutter - Flare tool - Wrenches - Brake fluid - Safety glasses - Gloves - Jack and jack stands (if needed)
Step 1 Identify the Damage
Begin by inspecting the brake line. Look for visible signs of wear or damage, such as corrosion, leaks, or cracks. If you notice fluid leaking, it’s likely that the line is compromised. Trace the entire length of the line to find the exact point of failure.
Step 2 Prepare the Vehicle
If the brake line is located underneath the vehicle, secure it on a flat surface and use a jack to lift it if necessary. Ensure you use jack stands to support the vehicle safely. Wearing safety glasses and gloves is advisable to protect yourself from any debris or brake fluid.
Step 3 Remove the Damaged Line
fixing a brake line

Carefully use a wrench to disconnect the fittings at both ends of the damaged brake line. If the fittings are stuck, apply penetrating oil and let it sit for a few minutes. Once loose, remove the old line completely. Be cautious, as brake fluid can damage your vehicle's paint.
Step 4 Cut and Flare the New Line
Using a tube cutter, cut the new brake line to the necessary length. It’s important to make clean cuts to ensure proper fitting. After cutting, use a flare tool to create a double flare at both ends of the line. This process is crucial as it allows the line to seal properly against the fittings.
Step 5 Install the New Line
Attach the new brake line by connecting it to the existing system with the flare fittings. Ensure that it is secured tightly but avoid over-tightening, as this could damage the fittings. Make sure to route the line similarly to the original to avoid any potential hazards.
Step 6 Bleed the Brakes
Once the new line is in place, it’s essential to bleed the brakes to remove any air from the system. Start at the wheel farthest from the master cylinder and work your way forward. This step is crucial for ensuring that your brake system works effectively.
Conclusion
After completing the repair, check for any leaks while applying pressure to the brakes. If everything is secure, replace the wheel (if applicable), lower the vehicle, and take it for a test drive. Maintaining your brake line is vital for safe driving, and knowing how to fix it can save both time and money. If you feel uncertain at any point, don’t hesitate to consult a professional mechanic. Safe travels!
