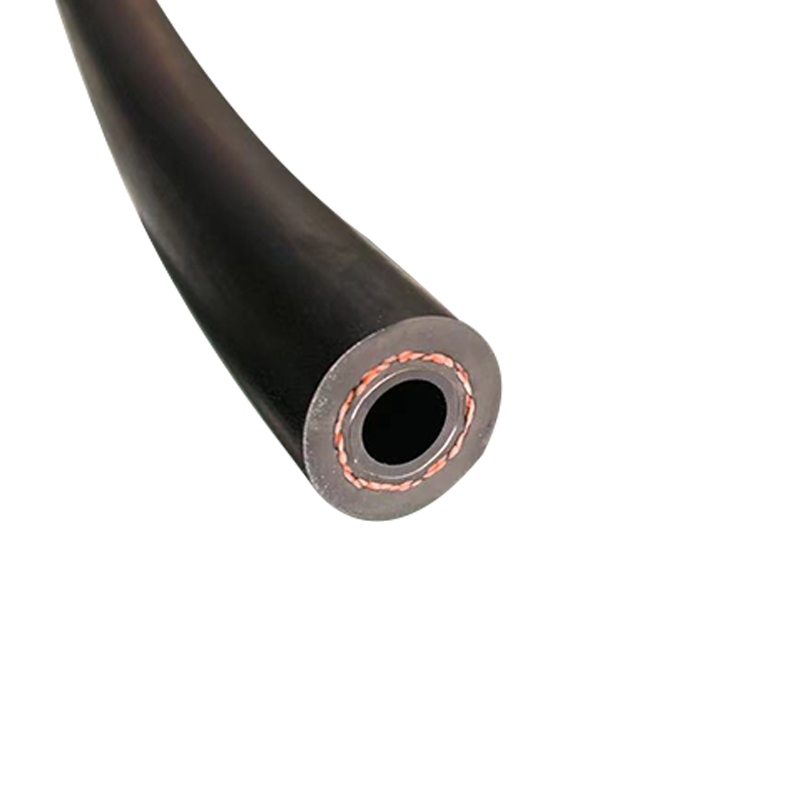
making new brake lines
ກ.ຍ. . 25, 2024 22:42 Back to list
making new brake lines
Creating New Brake Lines A Step-by-Step Guide
When it comes to vehicle safety, the braking system is paramount. Old, worn, or damaged brake lines can compromise performance and, ultimately, safety. If you’re a DIY enthusiast or just want to save some money on repairs, making new brake lines can be a rewarding task. Here’s a comprehensive guide to help you through the process.
Materials Needed
Before you begin, gather all necessary materials - Steel or copper-nickel brake lines - Tube cutter - Flaring tool - Brake line fittings - Wrenches - Brake fluid - Safety glasses - Gloves - Ruler or measuring tape
Step 1 Preparation
Start by ensuring the vehicle is securely lifted, using jack stands. It’s crucial to work in a well-ventilated area, especially when dealing with brake fluid. Remove the old brake lines carefully to avoid damaging other components. Take note of the layout and connections of the lines; this information is crucial for making accurate replacements.
Step 2 Measure the Old Lines
Using a ruler, measure the old brake lines carefully. Take note of any bends and angles, as this will guide you in replicating the correct shape. If the brake lines are too corroded or damaged to measure accurately, refer to the vehicle’s service manual for specifications.
Step 3 Cut the New Lines
With your measurements in hand, cut the new brake lines using a tube cutter. Ensure a straight cut to allow for a proper flare. Remember to wear safety glasses to protect your eyes from metal shavings.
Step 4 Flaring the Ends
making new brake lines

Next, flare the ends of the new brake lines. This step is crucial, as a proper flare ensures a leak-free connection. Use a flaring tool to create a double flare, which is recommended for most brake line applications. Follow the manufacturer’s instructions carefully to achieve an adequate flare.
Step 5 Installing New Lines
Now it’s time to install the new brake lines. Begin by connecting one end of the line to the brake caliper or wheel cylinder. Use the appropriate fittings and ensure they are tightened securely, but be cautious not to overtighten, as this can damage the fittings.
Route the line along the same path as the original to avoid interference with moving parts or the exhaust system. If necessary, use clamps to hold the line in place.
Step 6 Bleeding the Brake System
Once all the new lines are installed, bleed the brake system to remove any air that may have entered during the installation. Start at the wheel furthest from the master cylinder, and work your way closer, following the manufacturer’s bleeding procedure.
Step 7 Test Drive
Finally, before hitting the road, conduct a thorough check for leaks by inspecting all fittings and connections. Once satisfied, take the vehicle for a slow test drive to ensure the brakes are responsive and functioning correctly.
Conclusion
Making new brake lines can seem intimidating, but with the right tools and careful attention to detail, it’s a manageable task. By replacing old, leaky lines, you can restore your vehicle’s braking efficiency and enhance your safety on the road. Always prioritize safety, and don’t hesitate to seek professional help if needed.
