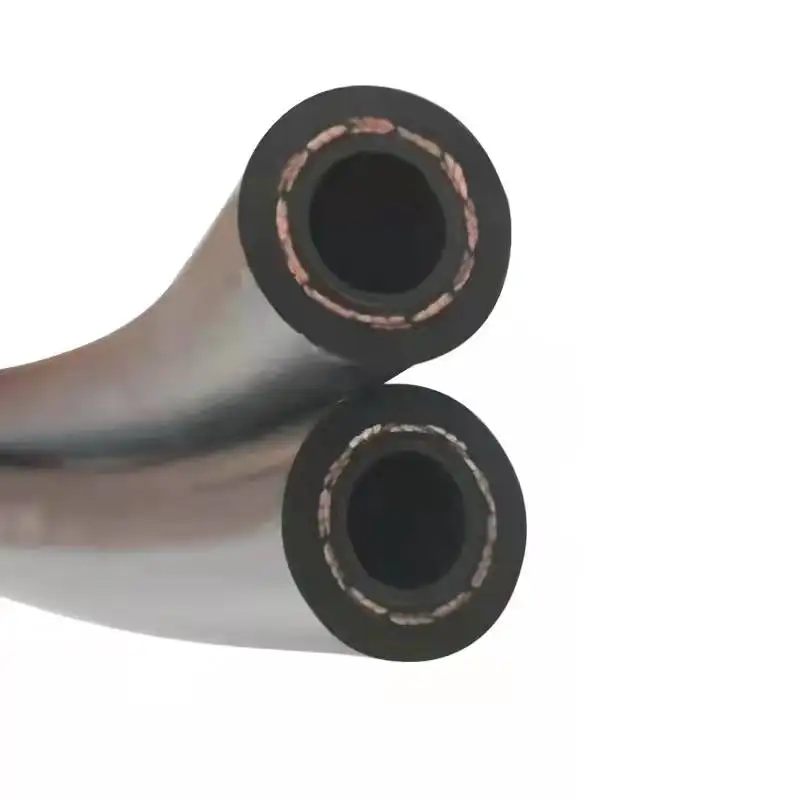
Creating Custom Brake Lines for Enhanced Vehicle Performance and Safety Solutions
ئاب . 14, 2024 04:36 Back to list
Creating Custom Brake Lines for Enhanced Vehicle Performance and Safety Solutions
Making Brake Lines A Guide to Ensuring Safety and Performance
Brake lines are essential components of a vehicle's braking system, playing a crucial role in safety and performance. Their primary function is to transfer brake fluid from the master cylinder to the brake calipers or wheel cylinders, allowing for smooth and responsive braking. Understanding how to make and maintain brake lines is vital for any vehicle owner or enthusiast. This article will guide you through the process, ensuring you have the knowledge necessary to create reliable brake lines.
Materials Needed
To make brake lines, you'll need specific materials and tools. The primary material used for brake lines is steel or stainless steel, as these materials are strong and resistant to corrosion. Additionally, you'll require
1. Brake Line Tubing Typically made of steel or stainless steel, available in various diameters. 2. Fittings Necessary for connecting the brake lines to the vehicle's brake system. 3. Flaring Tool Used to create flared ends on the tubing for secure connections. 4. Tubing Cutter To cut the brake line tubing to the desired length. 5. Wrenches For tightening fittings during installation. 6. Brake Fluid Essential for testing the system after installation.
Steps to Make Brake Lines
1. Measure and Cut Begin by measuring the lengths of brake line needed to connect different parts of the braking system. Be sure to account for bends and turns. Using the tubing cutter, carefully cut the brake line tubing to the measured lengths. Precision is key to ensuring a proper fit.
making brake lines

2. Create Flares After cutting, each end of the tubing must be flared using a flaring tool. This process involves shaping the end of the tubing into a conical shape, which allows for a secure connection with the fittings. There are different types of flares, such as double and single flares; the type you choose will depend on your vehicle's specifications.
3. Install Fittings Once the ends are flared, attach the fittings to the brake lines. Make sure you choose the correct fittings that match your vehicle's brake system. Screw them on and tighten them with wrenches to ensure a snug fit, but be careful not to overtighten, as this may damage the fittings or the brake line.
4. Routing the Brake Lines Carefully route the brake lines along the frame of the vehicle, ensuring that they are not exposed to sharp edges or sources of heat. Secure the lines with clips or brackets to prevent any movement during operation.
5. Testing for Leaks Once the brake lines are installed, it is crucial to fill the brake system with hydraulic brake fluid and bleed the brakes to remove any air bubbles. After bleeding, visually inspect the lines for any signs of leaks. A proper seal is essential for the safety and efficiency of the braking system.
Maintenance and Safety
Regular maintenance of brake lines is necessary to ensure long-term performance and safety. Inspect brake lines for signs of corrosion, wear, or leaks at regular intervals. If any damage is noticed, replace the brake lines immediately to avoid potential brake failure, which can result in dangerous situations on the road.
In conclusion, making brake lines is a task that requires careful planning, precision, and attention to detail. By understanding the materials and processes involved, you can ensure that your vehicle's braking system is both safe and reliable. Whether you’re a DIY enthusiast or a car owner looking to perform your own maintenance, mastering the art of making brake lines will serve you well in maintaining your vehicle's performance. Always prioritize safety, and when in doubt, consult with a professional mechanic.
