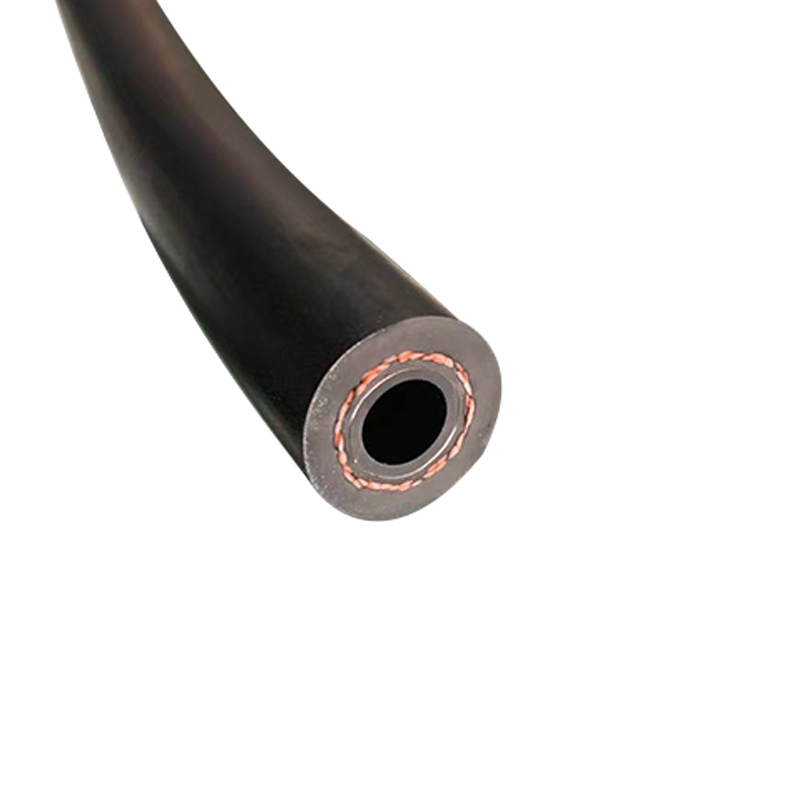
replacing heater hose
ធ្នូ . 19, 2024 08:33 Back to list
replacing heater hose
Replacing Heater Hose A Comprehensive Guide
Maintaining a vehicle can be a time-consuming task, but understanding the key components and their functions can help prolong the life of your car. One critical element that often goes unnoticed is the heater hose. This article will explore the importance of the heater hose, the signs that it needs replacement, and a step-by-step guide to help you replace it yourself.
Importance of the Heater Hose
The heater hose plays a vital role in the engine cooling system. Typically made of rubber or a rubber-like material, it carries hot coolant from the engine to the heater core, which, in turn, heats the cabin of the vehicle. A functioning heater hose is essential not only for a comfortable riding experience during cold weather but also for maintaining proper engine temperature. If the heater hose becomes damaged, cracked, or develops leaks, it could lead to coolant loss, overheating, and extensive engine damage.
Signs of a Failing Heater Hose
Several symptoms indicate that your heater hose may need replacement. Common signs include
1. Coolant Leaks If you notice puddles of coolant under your vehicle, it’s a strong indication that your heater hose might be compromised. 2. Low Coolant Levels Regularly checking your coolant levels is crucial. If they frequently drop without any apparent leak, the heater hose could be a suspect.
3. Overheating Engine A malfunctioning heater hose can hinder the proper circulation of coolant, causing the engine to overheat.
4. Poor Cabin Heating If your car's heater takes too long to warm up or doesn’t get warm at all, it might indicate a blockage in the heater hose.
5. Visible Damage Inspect the hose visually for cracks, bulges, or wear and tear. If you find any damage, it’s time to replace it.
Steps to Replace the Heater Hose
If you’ve established that your heater hose needs replacement, here’s a step-by-step guide to help you through the process
Tools and Materials Needed
- New heater hose - Hose clamps - Pliers - Screwdriver - Coolant - Bucket (to catch spills) - Gloves and safety glasses
replacing heater hose

Step 1 Preparation
Start by ensuring your car is parked on a flat surface and the engine is completely cool. Gather all your materials and put on gloves and safety glasses for protection.
Step 2 Drain the Coolant
With a bucket placed underneath, open the radiator drain valve to drain the coolant from the system. Make sure to dispose of the old coolant properly, as it's toxic.
Step 3 Locate and Remove the Old Hose
Find the heater hose; it is usually located between the engine and the firewall. Using pliers, loosen the clamps securing the hose in place. Carefully slide the hose off the fittings. You might need to twist it gently to free it.
Step 4 Install the New Heater Hose
Take the new heater hose and slide it onto the fittings. Ensure a snug fit and secure it with new hose clamps. Make sure the clamps are properly tightened to avoid any leaks.
Step 5 Refill Coolant
Once the hose is secure, close the radiator drain valve and refill the coolant. Begin by pouring coolant into the radiator, filling it to the appropriate level.
Step 6 Bleed the System
Start the engine and run it for a few minutes with the heater on high. This will help remove any air trapped in the system. Check for leaks around the new hose; if everything looks good, you can proceed.
Conclusion
Replacing a heater hose is a manageable task for anyone with basic mechanical skills. By staying vigilant and addressing issues promptly, you can save yourself from costly repairs and ensure your vehicle runs smoothly. Remember to perform regular checks on all your vehicle’s hoses and systems to maintain optimal performance and comfort.
Latest news
-
Seven-Layer Winding A/C Hose Type C-HEBEI KEMO AUTO PARTS TECHNOLOGY CO., LTD|Low Permeability&High Durability
NewsAug.29,2025
-
Seven-Layer Type C A/C Hose-HEBEI KEMO AUTO PARTS TECHNOLOGY CO., LTD|Automotive Air Conditioning Solutions
NewsAug.29,2025
-
Durable Automotive Fuel Line: Car, Diesel & E85 Hoses
NewsAug.27,2025
-
Automotive Fuel Line & Hose Solutions | E85 & Diesel Ready
NewsAug.26,2025
-
Reliable Automotive Fuel Line | E85 & Diesel Compatible
NewsAug.25,2025
-
Durable Car Heater Hose | Quality Automotive Preheater Pipes
NewsAug.24,2025
