How to Replace a Worn Brake Hose Step by Step Guide
វិច្ឆិកា . 29, 2024 21:57 Back to list
How to Replace a Worn Brake Hose Step by Step Guide
Replacing a Brake Hose A Comprehensive Guide
Brake systems are one of the most critical safety features in any vehicle. They allow for smooth stopping, providing drivers with the confidence to navigate various road conditions. However, like all components of a vehicle, brake parts can wear out over time, leading to potential safety hazards if not addressed promptly. One often overlooked yet crucial part of the brake system is the brake hose. In this article, we will discuss how to replace a brake hose, ensuring your vehicle remains safe and efficient.
Understanding the Brake Hose
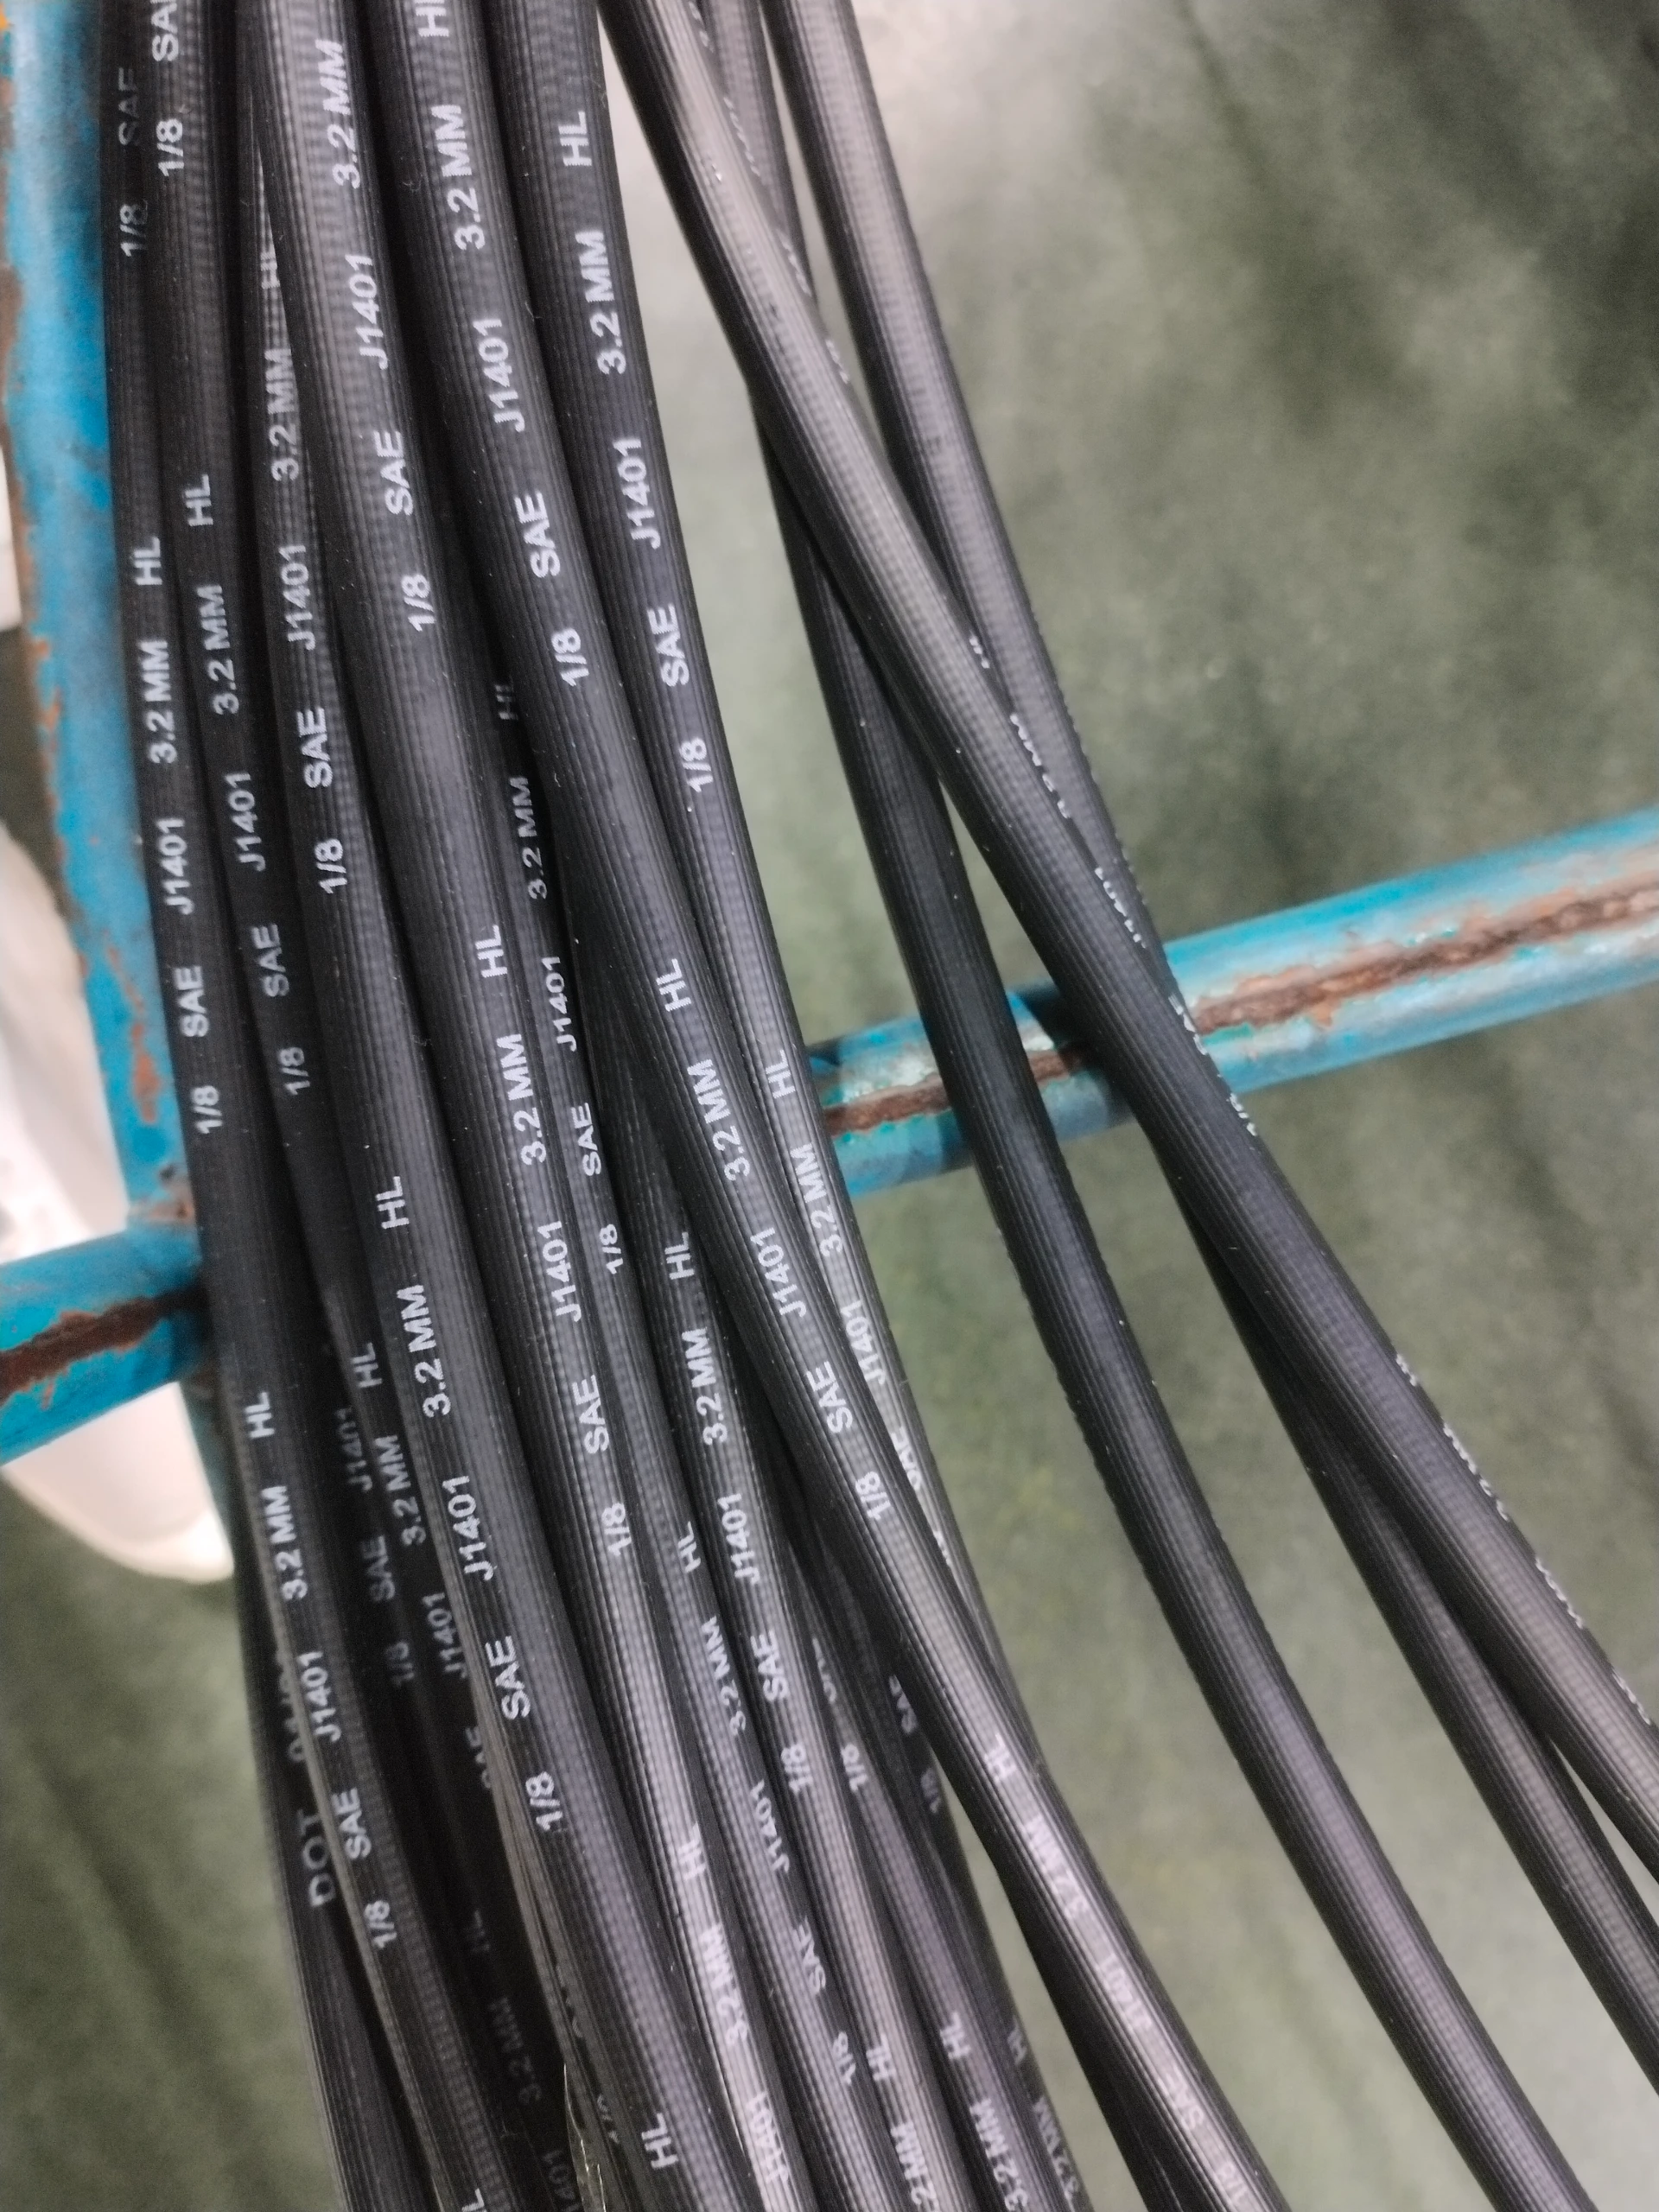
The brake hose is responsible for transmitting hydraulic fluid from the brake lines to the brake calipers or wheel cylinders. Made of durable materials, brake hoses must withstand high pressure while being flexible enough to accommodate the vehicle's movement. Over time, brake hoses can become brittle, develop cracks, or become swollen due to exposure to heat and potentially corrosive brake fluid.
Signs of a Failing Brake Hose
Recognition of a failing brake hose is essential for maintaining brake efficiency. Common symptoms include
1. Leaking Brake Fluid Spotting fluid under your vehicle after it has been parked can indicate a brake hose leak. 2. Spongy Brake Pedal If your brake pedal feels soft or spongy when pressed, it may indicate that air has entered the brake lines due to a compromised hose. 3. Brake Warning Light A warning light on the dashboard may signal brake system issues, including those related to the hoses. 4. Visible Damage Regular inspections can help you spot any cracks or bulges in your brake hoses before a failure occurs.
Steps to Replace a Brake Hose
Replacing a brake hose can be a straightforward task for those with basic mechanical skills. Here’s how to do it
Tools and Materials Needed
- New brake hose - Wrenches - Brake fluid - Brake cleaner - Cloth rags - Jack and jack stands - A catch pan for fluid
Step 1 Prepare the Vehicle
Ensure the vehicle is parked on a level surface, engage the parking brake, and use a jack to lift the vehicle, securing it with jack stands for safety.
replacing a brake hose

Step 2 Remove the Old Brake Hose
Locate the brake hose, typically connected to the brake caliper and the brake line. Use wrenches to carefully loosen the fittings and remove the old hose. Be prepared for some brake fluid to spill; the catch pan can help manage this.
Step 3 Inspect Related Components
While the brake hose is off, inspect surrounding components like the brake caliper and brake line for any signs of damage or wear. It's a good practice to ensure everything is in good condition before installing the new hose.
Step 4 Install the New Brake Hose
Attach the new brake hose to the brake line and caliper, ensuring snug connections to prevent leaks. Tightening should be done carefully to avoid damaging the hose or fittings.
Step 5 Bleed the Brakes
After installation, it’s necessary to bleed the brakes to remove any air that may have entered the brake system. This will restore proper brake pedal feel and ensure optimal functionality.
Step 6 Test the System
Before returning the vehicle to the road, pump the brake pedal several times to ensure firmness. Also, check for any leaks around the new hose connection points.
Conclusion
Regular maintenance of your vehicle's brake system is vital for your safety on the road. Replacing a brake hose, while requiring attention to detail, is a manageable task that contributes significantly to effective braking. If you're unsure or uncomfortable doing this yourself, it's always advisable to consult a professional mechanic. Remember, a well-maintained brake system is essential for safe driving.
