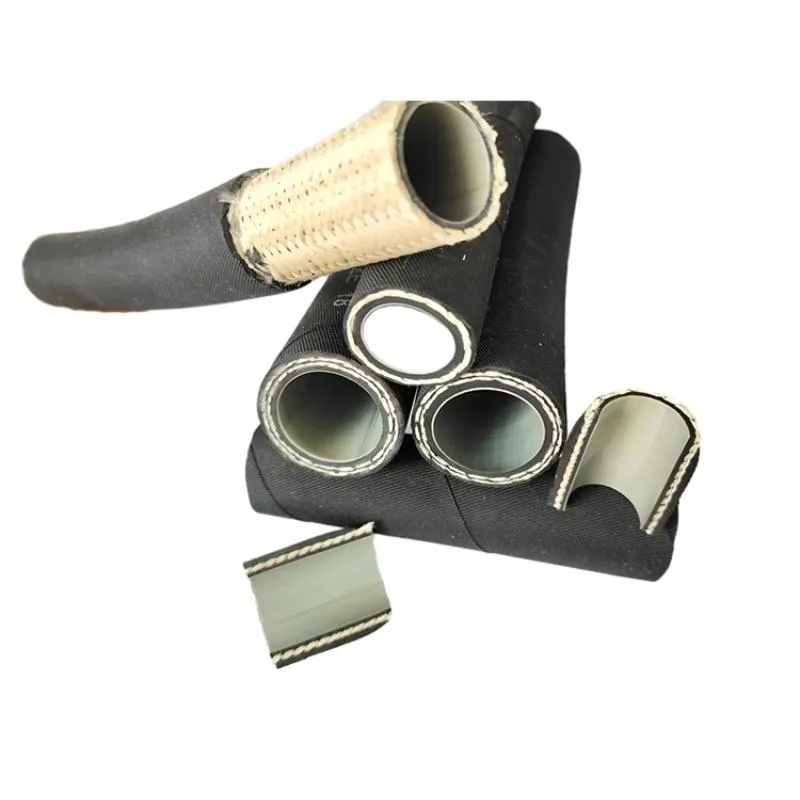
installing brake lines
តុលា . 31, 2024 06:53 Back to list
installing brake lines
A Guide to Installing Brake Lines
Brake lines are a crucial component of any vehicle’s braking system, responsible for transporting brake fluid from the master cylinder to the brake calipers at each wheel. If you're experiencing issues with your brakes, such as leaks or reduced responsiveness, it may be time to replace your brake lines. Installing new brake lines can be a daunting task, but with the right tools and a step-by-step approach, you can do it yourself.
Tools and Materials Needed
Before beginning the installation, gather the necessary tools and materials. You'll need
- New brake lines (ensure they are the correct fit for your vehicle) - Brake fluid - Wrenches (both standard and socket) - A flare nut wrench - Line cutting tool - Pipe bender (if necessary) - Brake cleaner - Towel or rag - Safety glasses and gloves
Step-by-Step Installation Process
1. Safety First Begin by ensuring your vehicle is on a flat surface. Engage the parking brake and, if applicable, jack up the vehicle securely on jack stands. Wear safety glasses and gloves before proceeding.
installing brake lines

2. Remove Old Brake Lines Start at the master cylinder, locating the brake lines. Use a flare nut wrench to carefully remove the old lines. Take note of how they are routed so you can replicate this when installing the new lines. It’s advisable to have a towel or rag handy to catch any brake fluid that may spill.
3. Prepare New Brake Lines Measure and cut the new lines to match the lengths of the old ones. If necessary, use a pipe bender to shape the lines to fit the original routes as closely as possible. Pre-flared brake lines can save time, but ensure the fittings are compatible with your vehicle.
4. Install New Brake Lines Begin attaching the new brake lines, starting at the master cylinder and working your way down to the brake calipers. Ensure all connections are tight but avoid overtightening, as this can damage the fittings.
5. Bleed the Brakes Once all lines are installed, it’s essential to bleed the brake system to remove any air trapped in the lines. Begin by filling the master cylinder with fresh brake fluid. Then, follow a bleeding procedure, typically starting from the wheel farthest from the master cylinder. Have an assistant pump the brake pedal while you open and close the bleeder valve to allow air to escape. Repeat this process for each wheel until the fluid runs clear and free of bubbles.
6. Test the System After bleeding the brakes, check all connections for leaks. Refill the master cylinder to the proper level and then start the vehicle. Pump the brakes a few times to ensure they feel firm. Test drive the vehicle at low speeds in a safe area to verify that the brakes are functioning correctly.
Conclusion
While installing brake lines may seem like a complex task, following these steps can make the process manageable. Proper installation ensures your vehicle's braking system operates safely and effectively. Always prioritize safety and don’t hesitate to consult a professional mechanic if you’re unsure about any part of the process. With a little patience and diligence, you can successfully replace your brake lines and keep your vehicle running smoothly.
