Steps for Replacing the High Pressure Power Steering Hose on Your Vehicle
júl . 30, 2024 22:24 Back to list
Steps for Replacing the High Pressure Power Steering Hose on Your Vehicle
Replacing High Pressure Power Steering Line A Comprehensive Guide
The power steering system is one of the critical components of modern vehicles, providing drivers with the necessary assistance to maneuver their cars with ease. Among its parts, the high-pressure power steering line plays a vital role in transferring hydraulic fluid from the pump to the steering gear. Over time, this line can wear out or develop leaks due to heat, pressure, and other environmental factors. Replacing a high-pressure power steering line may seem like a daunting task, but with the right tools and guidance, it can be a manageable DIY project.
Understanding the High-Pressure Power Steering Line
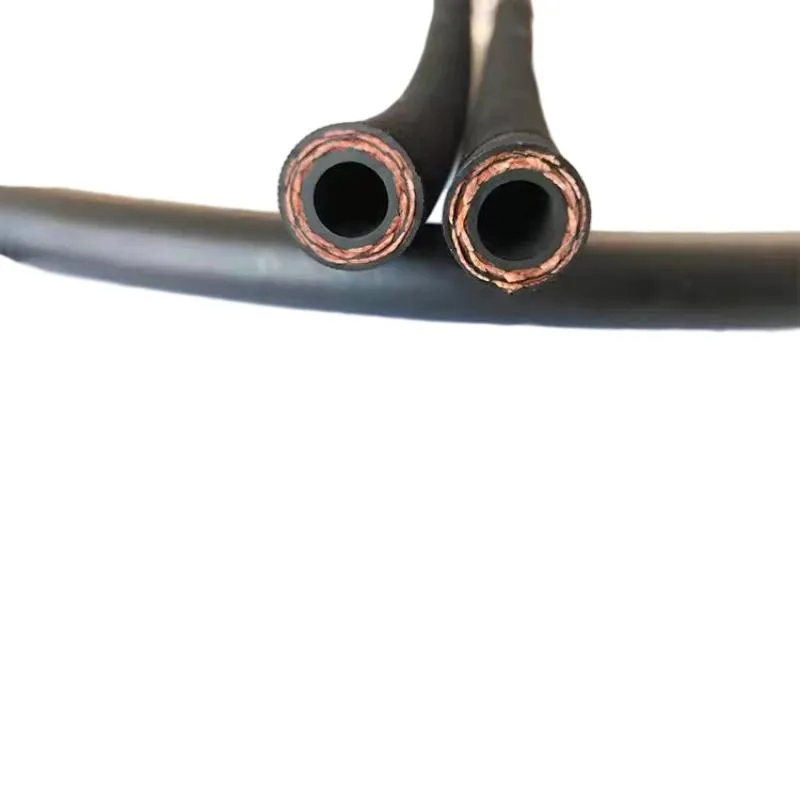
The high-pressure power steering line is typically made of durable rubber or metal, designed to withstand the extreme pressures created in the steering system. When this line is damaged or begins to leak, drivers may experience difficulty steering, unusual noises, or a warning light on the dashboard. Ignoring these symptoms can lead to further damage and costly repairs, making timely replacement essential.
Tools and Materials Needed
To replace the high-pressure power steering line, you will need the following tools and materials - A new high-pressure power steering line (specific to your vehicle’s make and model) - Wrenches and sockets - Pliers - A container for catching fluid - Hydraulic fluid (if necessary) - Safety glasses and gloves
Step-by-Step Replacement Process
1. Safety First Before beginning the replacement, ensure the vehicle is parked on a level surface, the engine is off, and the keys are removed. Always wear safety glasses and gloves to protect yourself during the process.
replacing high pressure power steering line

2. Access the Power Steering Line Depending on your vehicle, you may need to remove certain components or cover panels to gain access to the high-pressure power steering line. Consult your vehicle’s manual for specific instructions on access points.
3. Drain Power Steering Fluid Position a container beneath the power steering pump to catch any fluid that will leak out during the procedure. Loosen the cap on the reservoir to relieve pressure and allow the fluid to drain.
4. Remove the Old Line Using the appropriate wrenches or sockets, carefully unscrew the fittings connecting the high-pressure line to both the pump and the steering gear. Be prepared for any residual fluid that may spill out during this process.
5. Install the New Line Carefully position the new high-pressure power steering line in place. Begin by threading the fittings by hand to avoid cross-threading, then use the wrenches to tighten them securely. Ensure that all connections are snug, but be cautious not to overtighten, as this could damage the fittings.
6. Refill Power Steering Fluid Once the new line is in place, refill the power steering reservoir with the recommended hydraulic fluid for your vehicle. Be sure to consult your owner’s manual for the correct specifications.
7. Check for Leaks and Test Drive After refilling, start the engine and turn the steering wheel from lock to lock several times. This action allows the new fluid to circulate and helps to remove any air bubbles trapped in the system. Inspect the new power steering line and connections for any signs of leaks. If everything appears secure, take the vehicle for a short test drive to ensure proper functionality.
Conclusion
Replacing a high-pressure power steering line is an essential maintenance task that can save drivers from more severe steering issues down the road. By following the steps outlined above, tackling this task can be an achievable DIY project. However, if you’re unsure or uncomfortable working on your vehicle, it’s always a good idea to consult with a professional mechanic. A properly functioning power steering system not only enhances safety but also improves the overall driving experience.
