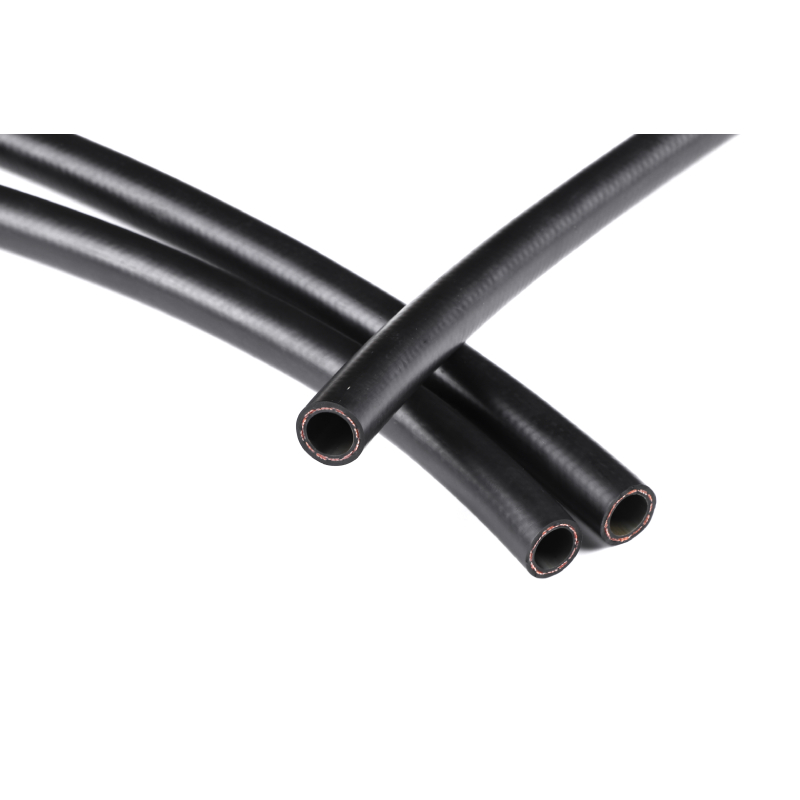
installing new brake lines
Sep . 14, 2024 10:41 Back to list
installing new brake lines
Installing New Brake Lines A Step-by-Step Guide
When it comes to maintaining your vehicle, one of the critical aspects that should never be overlooked is the brake system. Over time, brake lines can wear out, corrode, or become damaged, leading to reduced braking performance or even brake failure. Installing new brake lines is an essential skill for any DIY mechanic, and it can save you money while ensuring your vehicle remains safe to drive. This article will guide you through the process of installing new brake lines, keeping your safety in mind.
Tools and Materials Needed
Before you begin, you’ll need to gather some essential tools and materials
1. Brake line tubing – either pre-bent or straight 2. Brake line fittings – ensure they match your existing connections 3. Tube cutter – for cutting the brake lines to length 4. Flaring tool – to create a proper flare on the brake line ends 5. Wrenches – for loosening and tightening fittings 6. Brake fluid – to refill the system after installation 7. Safety glasses and gloves – to protect yourself while working
Step 1 Safety First
Before you start working on your brake system, ensure the vehicle is parked on a flat surface, and disconnect the battery to avoid any electrical hazards. It's also wise to lift the vehicle using jack stands for easier access to the undercarriage.
Step 2 Remove the Old Brake Lines
Locate the existing brake lines under the vehicle. Carefully inspect them for any signs of wear or damage. Use the appropriate wrenches to disconnect them from the brake calipers and the master cylinder. Be prepared for some brake fluid to leak out, so have a container ready to catch any spills. Once detached, gently remove the lines from their brackets.
Step 3 Measure and Cut New Brake Lines
installing new brake lines

Using the old brake lines as a guide, measure the new brake line tubing. If you're using straight tubing, cut it to length with a tube cutter. Ensure that your cuts are clean and straight for a proper fit.
Step 4 Flaring the Brake Lines
Next, you'll need to flare the ends of the new brake lines. This is a crucial step as it creates a smooth surface for the fittings to seal properly. Follow the instructions on your flaring tool to create a double flare, which is the preferred method for brake lines.
Step 5 Install the New Brake Lines
Once you have prepared your new brake lines, it’s time to install them. Start by connecting the lines to the brake calipers and master cylinder. Make sure all fittings are tight to prevent any leaks. Use additional brackets if needed to secure the lines along their path.
Step 6 Refill and Bleed the Brake System
After installation, refill the brake fluid reservoir with fresh fluid. It’s essential to bleed the brake lines to remove any air trapped in the system. This involves opening the bleeder valves on the brake calipers and having a helper pump the brakes until fluid flows without bubbles.
Step 7 Final Checks
Before taking your vehicle for a test drive, check all connections for leaks. Make sure everything is secure and properly aligned.
In conclusion, while installing new brake lines can seem daunting, following these steps will lead you to a successful installation. Not only will this improve vehicle safety, but it will also enhance your understanding of your car's braking system. Happy wrenching!
