How to Successfully Repair a Brake Line That Is Leaking and Ensure Safe Driving
Juil . 30, 2024 06:33 Back to list
How to Successfully Repair a Brake Line That Is Leaking and Ensure Safe Driving
Fixing a Leaking Brake Line A Step-by-Step Guide
A vehicle's braking system is crucial for safe driving, and one of its essential components is the brake line. Over time, brake lines can develop leaks due to corrosion, wear and tear, or damage from road debris. A leaking brake line can lead to a dangerous situation, as it significantly reduces the braking efficiency of your vehicle. If you suspect that your brake line is leaking, it's important to address the issue promptly. Here’s a step-by-step guide to help you fix a leaking brake line.
Step 1 Safety First
Before you get started, ensure that you take the necessary safety precautions. Park your vehicle on a flat surface, engage the parking brake, and wear safety glasses and gloves. It's also a good idea to have a fire extinguisher nearby, as brake fluid is flammable.
Step 2 Identify the Leak
The first step in fixing a leaking brake line is to identify the source of the leak. Start by inspecting the brake lines and connections for any visible signs of damage or corrosion. You may need to use a flashlight to see clearly. Look for wet spots or discoloration on the lines, which can indicate a leak. If the leak isn’t easily visible, you can press the brake pedal to see if any fluid seeps out.
Step 3 Gather Necessary Tools and Materials
Once you have identified the leak, gather the necessary tools to make your repairs
. You will need- Wrenches (usually a 10mm or 12mm size) - Pipe cutter or tubing cutter - Replacement brake line (make sure it’s the correct size and type) - Fittings or adapters (if needed) - Brake fluid - A brake bleeder kit (for bleeding the brakes after repair)
Step 4 Remove the Damaged Brake Line
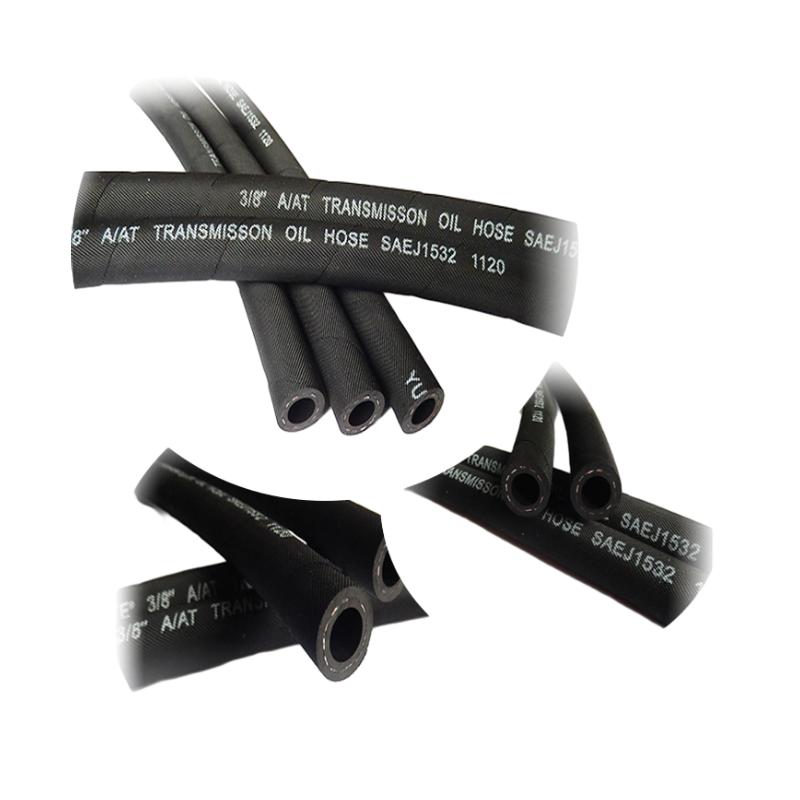
fixing a leaking brake line

To remove the damaged brake line, first, loosen the fittings at both ends of the line using the wrench. Be careful, as brake fluid may drip out when you disconnect the fittings. Once the fittings are removed, use a pipe cutter to cut the line. Ensure you're cutting far enough back to remove all corroded sections.
Step 5 Install the New Brake Line
Take your replacement brake line and carefully bend it to match the shape of the original line. Install the new line by connecting it to the brake components using the fittings. Ensure that all connections are tight to prevent future leaks.
Step 6 Bleed the Brakes
After installing the new brake line, you will need to bleed the brake system to remove any air that may have entered during the repair. To do this, attach a brake bleeder kit to one of the brake calipers. Have someone pump the brake pedal while you open the bleeder valve. Once the fluid flows steadily without bubbles, close the valve and repeat this process for all brake calipers.
Step 7 Test the System
After bleeding the brakes, check the entire system for leaks. Press the brake pedal several times to ensure that it feels firm. If everything appears to be in order, take your vehicle for a slow test drive in a safe area to ensure the brakes function correctly.
Conclusion
Fixing a leaking brake line is a task that requires attention to detail and safety precautions. By following these steps carefully, you can restore your vehicle's braking system to optimal performance. However, if you are uncomfortable working on your brakes, or if the problem persists, don't hesitate to seek professional assistance. Remember, your safety and that of others on the road depend on a well-functioning braking system.
