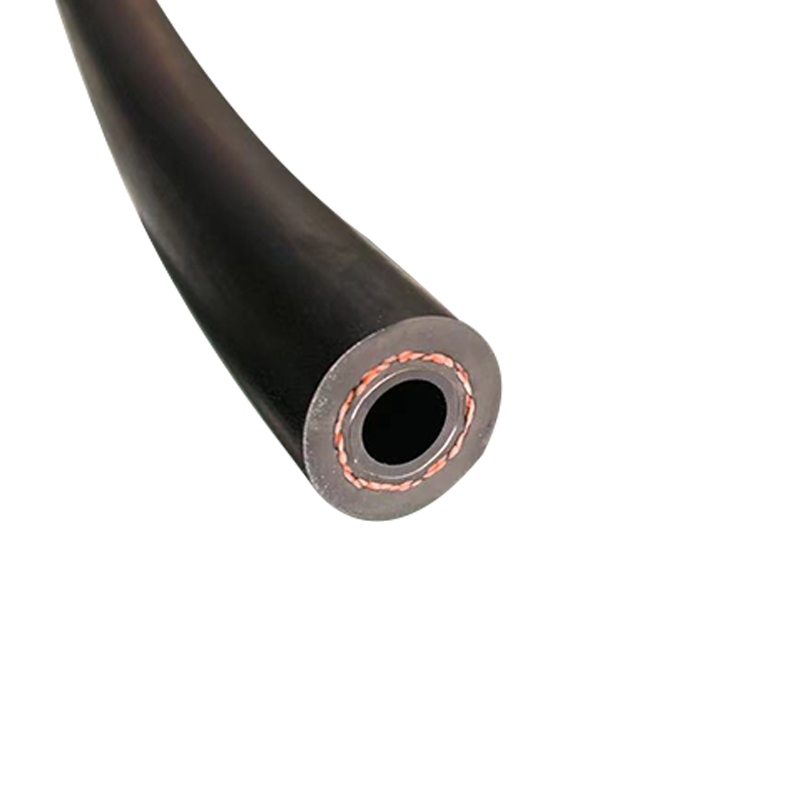
How to Replace the Hoses for Your Vehicle's Heater Core Effectively
Aza . 19, 2024 04:10 Back to list
How to Replace the Hoses for Your Vehicle's Heater Core Effectively
Replacing Heater Core Hoses A Step-by-Step Guide
If you've been experiencing issues with your vehicle's heating system, one potential culprit could be the heater core hoses. These hoses are crucial for circulating coolant to and from the heater core, allowing hot air to enter the cabin when needed. Over time, these hoses can become brittle, cracked, or even develop leaks. Replacing them is essential for ensuring that your heating system works efficiently and that your engine remains at a proper temperature. Here's a detailed guide on how to replace heater core hoses.
Tools and Materials Needed
Before you begin, gather the necessary tools and materials - Replacement heater core hoses - Hose clamps - Screwdriver or pliers - Coolant - Bucket or container for fluid drainage - Towels or rags - Safety goggles and gloves
Step 1 Prepare Your Vehicle
Park your vehicle on a level surface and turn off the engine. Allow it to cool completely to avoid burns from hot coolant. Once cool, disconnect the negative battery terminal to ensure safety while working with the electrical components.
Step 2 Drain the Coolant
Place a bucket or container beneath the radiator and remove the radiator cap. This will allow the coolant to drain. Open the petcock (drain valve) at the bottom of the radiator to expedite the process. Make sure to properly dispose of the old coolant, as it is hazardous to the environment.
Step 3 Locate Heater Core Hoses
Identify the heater core hoses. Typically, two hoses connect the heater core to the engine’s cooling system—one is an inlet hose that brings hot coolant into the heater core, while the other is an outlet hose that returns the cooled coolant back to the engine.
replacing heater core hoses

Step 4 Remove Old Hoses
Using your screwdriver or pliers, loosen the hose clamps that secure the heater core hoses to the heater core and the engine. Carefully twist and pull the hoses off the fittings, taking care not to damage the connections. If the hoses are stuck, you may need to gently rock them back and forth until they break free.
Step 5 Install New Hoses
Take your new heater core hoses and slide them onto the fittings. Ensure they are correctly oriented—usually, the inlet hose is slightly larger than the outlet. Reinstall the hose clamps, making sure they are tight enough to prevent leaks, but not so tight that they damage the hoses.
Step 6 Refill the Cooling System
Once the new hoses are securely in place, it’s time to refill the cooling system. Pour fresh coolant into the radiator, ensuring you use the type of coolant recommended by your vehicle’s manufacturer. After filling, replace the radiator cap.
Step 7 Check for Leaks
Reconnect the negative battery terminal and start your engine. Let it idle for a few minutes and check for any leaks around the new hoses. If everything looks good, take your vehicle for a short drive to ensure the heating system is functioning properly.
Conclusion
Replacing heater core hoses might seem intimidating, but with the right tools and a little patience, it can be a manageable DIY project. Regular maintenance of these hoses can extend the life of your vehicle’s heating system, ensuring a comfortable environment regardless of the weather outside. Always consult your vehicle’s manual for specific instructions and recommendations. Stay warm and drive safely!
