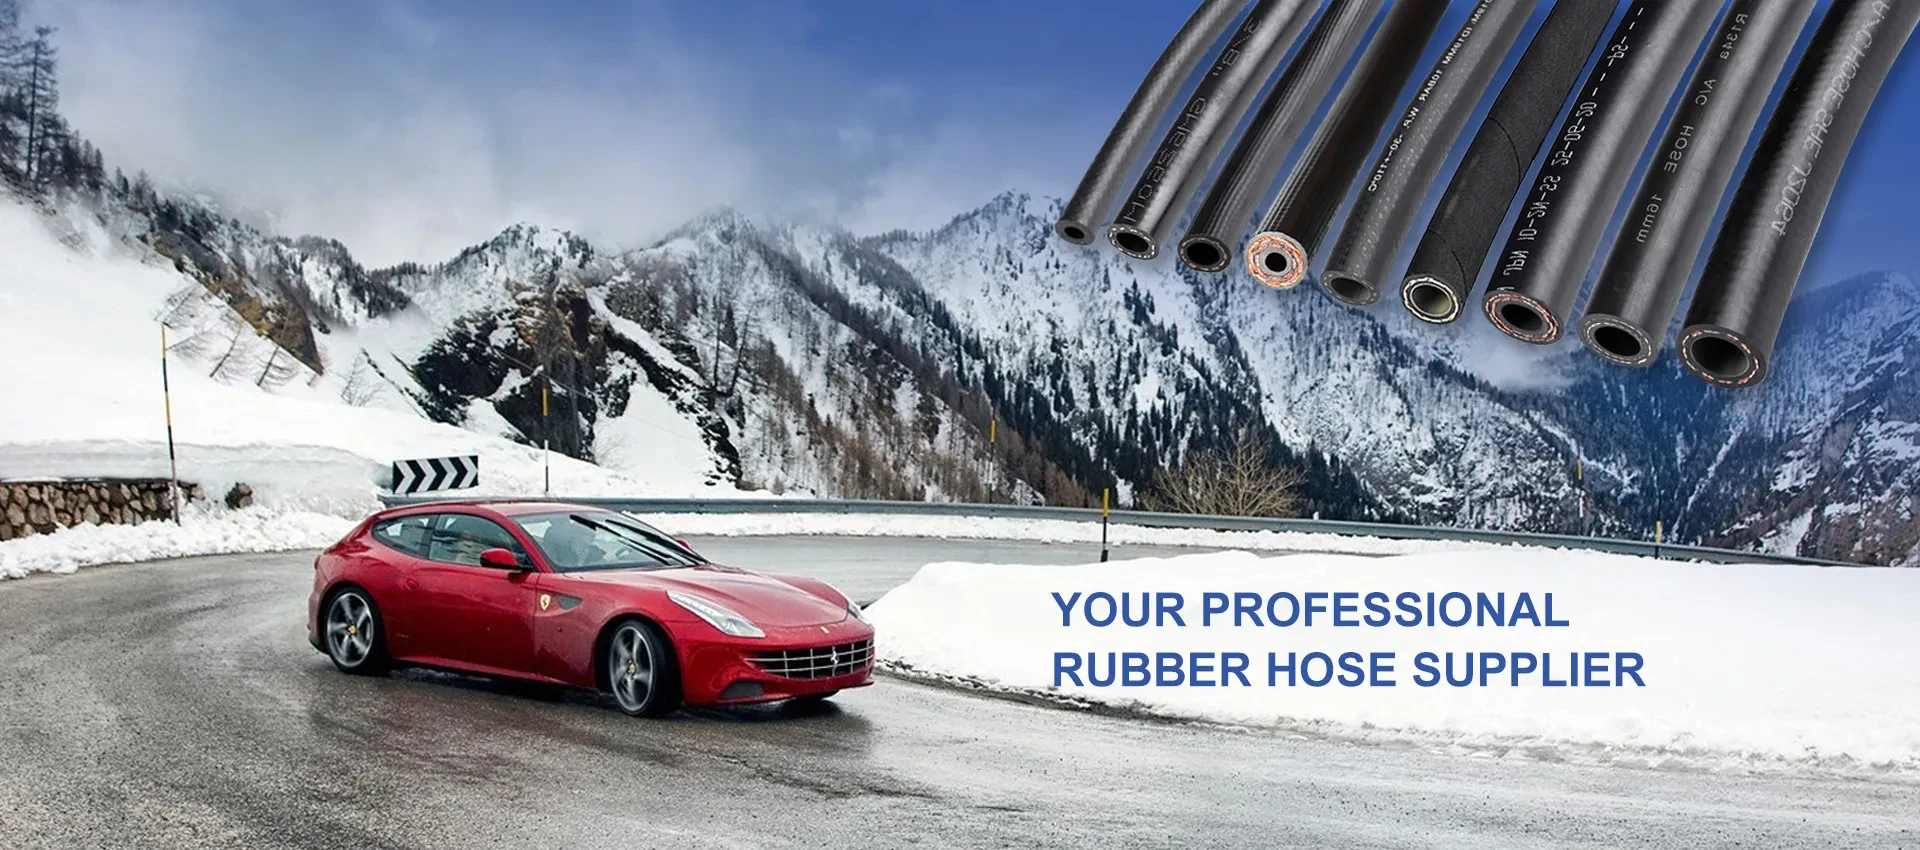
connecting brake lines
Lis . 20, 2024 18:38 Back to list
connecting brake lines
Connecting Brake Lines A Comprehensive Guide
Brake lines play a crucial role in the safety and performance of any vehicle. They are responsible for transmitting hydraulic pressure from the brake pedal to the brake components, enabling the vehicle to slow down or come to a complete stop. Understanding how to connect brake lines properly is essential for both seasoned mechanics and DIY enthusiasts. This article will explore the importance of brake lines, the tools required, steps to follow, and maintenance tips to ensure a reliable braking system.
Importance of Brake Lines
Brake lines are typically made from steel or reinforced rubber. Their primary function is to carry brake fluid under pressure. When the brake pedal is pressed, hydraulic fluid is forced through the brake lines, causing the brake calipers to clamp down on the brake rotors, which in turn slows the wheels. Properly connected and functioning brake lines are crucial for maintaining optimal braking efficiency and safety on the road.
Tools Required
Before connecting brake lines, it is essential to gather the necessary tools. These usually include
1. Brake Line Wrenches These are specially designed to prevent rounding off the nuts when tightening or loosening them. 2. Tubing Cutter This tool is necessary for cutting the brake lines to the desired length without crushing or deforming them. 3. Flaring Tool Used to create a flare on the ends of the brake lines, allowing for a secure connection with the brake fittings. 4. Brake Fluid Ensure you have the appropriate type of brake fluid for your vehicle, as specified in the owner’s manual. 5. Rags For cleaning up any spills and ensuring that the working area remains tidy.
Steps to Connect Brake Lines
1. Safety First Ensure the vehicle is securely lifted and supported with jack stands. Always wear safety goggles and gloves when working with brake systems.
2. Remove Old Brake Lines If you are replacing existing brake lines, carefully disconnect them using brake line wrenches. Be cautious as brake fluid can damage paint and other surfaces.
connecting brake lines

3. Measure and Cut New Brake Lines Measure the distance between the connection points to determine the length of the new brake line. Use a tubing cutter to cut the brake line to this length.
4. Create a Flaring Use a flaring tool to create a bubble or double flare on one end of the cut brake line. This is crucial as it allows for a tighter and more secure fit when connected to the brake fitting.
5. Connect the Brake Lines Attach the new brake line to the appropriate fittings. Be sure to tighten it securely but avoid overtightening, which can damage the line or fitting.
6. Repeat for All Connections If there are multiple lines to connect, repeat the process for each one, ensuring that all connections are tight and secure.
7. Bleed the Brakes After all connections are made, it’s important to bleed the brakes to remove any air that may have entered the system. This will ensure the brakes function properly.
Maintenance Tips
Regular maintenance of brake lines is essential for vehicle safety
- Inspect Regularly Check for any signs of leaks or wear, particularly at connection points and bends in the line. - Replace When Necessary If you notice any rust, corrosion, or significant wear, it’s best to replace the brake lines to prevent failure. - Use Quality Parts Always opt for high-quality brake lines and fittings to ensure durability and performance.
In conclusion, connecting brake lines is a critical task that contributes significantly to the overall safety and efficiency of your vehicle's braking system. With the right tools, steps, and maintenance, you can ensure that your brake lines function correctly, ultimately keeping you safe on the road. Always remember that when it comes to brakes, taking the time to do it right is essential.
