Installing Brake Lines for Optimal Performance and Safety in Your Vehicle
des. . 29, 2024 13:21 Back to list
Installing Brake Lines for Optimal Performance and Safety in Your Vehicle
Installing Brake Lines A Comprehensive Guide
When it comes to vehicle maintenance, the importance of a well-functioning braking system cannot be overstated. Among the key components of this system are the brake lines, which are responsible for carrying brake fluid from the master cylinder to the brake calipers. Over time, these lines can wear out or become damaged, leading to potential safety hazards. This article will provide a detailed guide on how to install brake lines, ensuring your vehicle remains safe and roadworthy.
Understanding Brake Lines
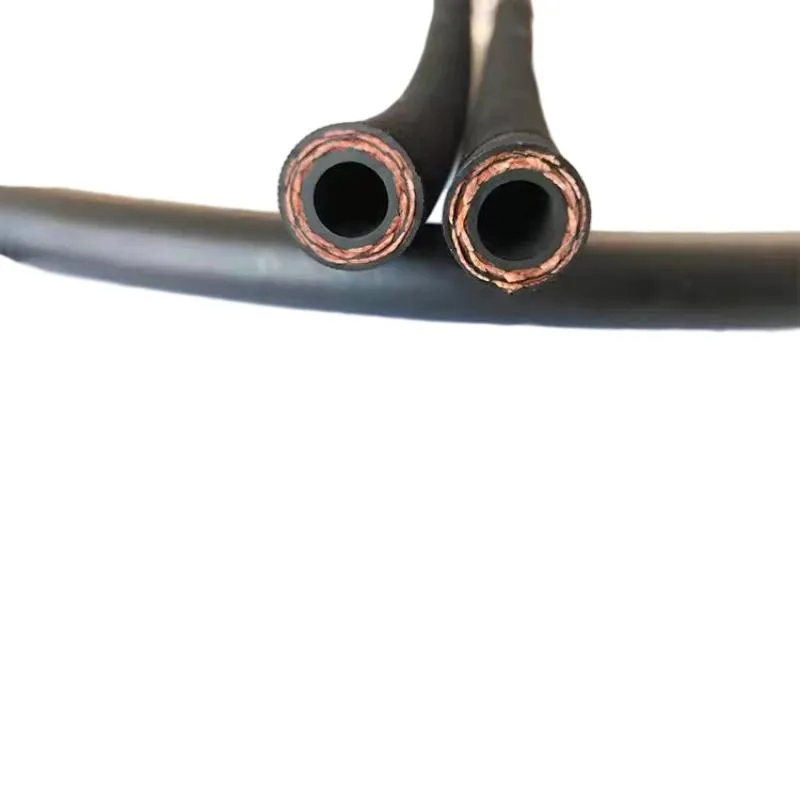
Brake lines come in two main types rigid and flexible. Rigid lines are typically made of steel and are used in areas where there is little movement, such as along the frame. Flexible lines, often made of rubber or braided stainless steel, are used in areas where movement occurs, such as between the body of the vehicle and the brake calipers. Understanding these types is crucial for selecting the correct parts for your vehicle.
Tools and Materials Needed
Before starting your installation project, it’s essential to gather the necessary tools and materials
- Brake line kit (including fittings) - Brake fluid - Line wrenches - Tube cutter or hacksaw - Brake line bender - Flare tool - Adjustable wrench - Jack and jack stands - Safety goggles and gloves
Step-by-Step Installation Process
1. Safety First
Before beginning any work on your vehicle, ensure it is parked on a flat surface and the engine is off. Use jack stands to support the vehicle securely. Remember to wear safety goggles and gloves to protect yourself from any sharp edges and brake fluid.
2. Remove Old Brake Lines
Start by locating the existing brake lines. Depending on your vehicle, you may need to remove wheels or other components to access them. Use the line wrench to carefully disconnect the old brake lines from the fittings at both the master cylinder and the brake calipers. Be prepared to catch any leaking brake fluid in a suitable container.
3
. Prepare New Brake Linesinstalling brake lines

Once the old lines are removed, it’s time to prepare your new brake lines. If your brake line kit comes with pre-cut lines, ensure they match the lengths of the old lines. If you need to cut new lines, use a tube cutter or hacksaw, and ensure you create clean cuts. After cutting, use a flare tool to create a proper flare at the ends of the brake lines. This ensures a secure and leak-free connection.
4. Install the Rigid Lines
Begin installing the new rigid brake lines in the same route as the old lines. Use a brake line bender if needed to create any bends or curves to fit around obstacles. Secure the lines to the vehicle frame using the provided clips and brackets. Ensure that they are not in contact with any moving parts or any source of heat.
5. Connect the Flexible Lines
Next, install the flexible brake lines. These will connect the rigid lines to the brake calipers. Ensure that you use the correct fittings to avoid any leaks. Hand-tighten the connections, and then use a line wrench to securely tighten them, but be careful not to over-tighten, which can damage the fittings.
6. Refill Brake Fluid
With the new brake lines installed, the next step is to refill the brake fluid. Consult your vehicle's manual to identify the appropriate type of brake fluid for your vehicle. Fill the master cylinder with new brake fluid, ensuring it reaches the recommended level.
7. Bleed the Brake System
Air can get trapped in the brake lines during installation, leading to a spongy brake feel. To remove air, you will need to bleed the brakes. Start from the farthest brake caliper from the master cylinder and work your way to the nearest one. Have an assistant pump the brake pedal while you open and close the bleeder valve on each caliper to release air until the fluid runs clear.
8. Test Drive
Once everything is reassembled and bled, take your vehicle for a test drive. Pay close attention to the brake response. If you notice any issues, such as sponginess or leaks, double-check your installations.
Conclusion
Installing brake lines requires careful attention to detail and safety. By following these steps, you can ensure a successful installation, improving your vehicle's braking performance. Remember, if you feel uncertain at any point, it's always best to consult with a professional mechanic. Your safety, and that of others on the road, depends on a reliably functioning brake system.
Latest news
-
Durable Automotive Fuel Line: Car, Diesel & E85 Hoses
NewsAug.27,2025
-
Automotive Fuel Line & Hose Solutions | E85 & Diesel Ready
NewsAug.26,2025
-
Reliable Automotive Fuel Line | E85 & Diesel Compatible
NewsAug.25,2025
-
Durable Car Heater Hose | Quality Automotive Preheater Pipes
NewsAug.24,2025
-
Durable Air Brake Hose & Air Lines for Trucks | Safety Ensured
NewsAug.23,2025
-
Air Conditioning Charging Hose: Durable AC Recharge Kits
NewsAug.22,2025
