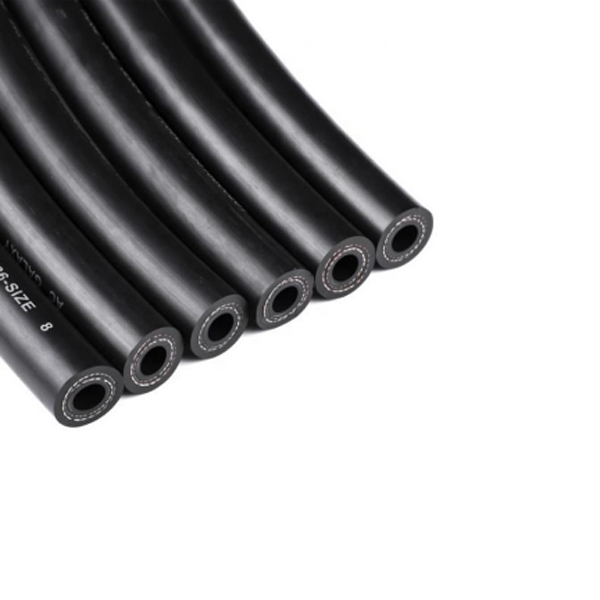
replacing rear brake lines
መስከ . 22, 2024 04:58 Back to list
replacing rear brake lines
Replacing Rear Brake Lines A Comprehensive Guide
Maintaining your vehicle’s braking system is crucial for safety, and one of the key components to keep an eye on is the brake lines. Specifically, when it comes to rear brake lines, any signs of wear, damage, or corrosion can lead to serious issues. This article provides an overview of why you might need to replace your rear brake lines, the tools required, and a step-by-step guide on how to perform the replacement yourself.
Why Replace Rear Brake Lines?
Brake lines are essential as they transport brake fluid from the master cylinder to the brake components at the wheels. Over time, rear brake lines can corrode or develop leaks due to exposure to moisture, road salt, and other environmental factors. Such deterioration can lead to a loss of brake fluid, resulting in reduced braking performance or, worse, brake failure. Thus, it’s important to inspect your brake lines regularly and replace them when necessary.
Tools and Materials Needed
Before you start the replacement process, you will need to gather a few tools and materials
- New rear brake lines - Brake line wrench or flare nut wrench - Tube cutter - Deburring tool - Brake fluid - A container for old fluid - Safety gloves and goggles - Jack and jack stands - Brake line bending tool (if necessary)
Step-by-Step Replacement Process
1. Safety First Ensure the car is on a flat surface. Elevate the vehicle using a jack and secure it with jack stands.
2. Remove the Wheel Take off the rear wheel to access the brake components.
replacing rear brake lines

3. Locate the Brake Line Identify the rear brake lines connected to the brake caliper. Take note of how they are routed, as you'll want to replicate this with the new lines.
4. Disconnect the Old Brake Line Use the brake line wrench to carefully loosen and disconnect the old brake line from the fitting. Be prepared for some brake fluid to leak out; have your container ready to catch this fluid.
5. Cut and Prepare New Brake Lines If your new brake lines require cutting, use the tube cutter for a clean cut. Deburr the edges to ensure a proper fit.
6. Install the New Brake Line Route the new brake line following the same path as the old one. Use the bending tool to shape the line if needed. Tighten the fittings by hand initially, then use the wrench for a secure fit, being careful not to overtighten them.
7. Reassemble Once the new line is connected, replace the wheel and lower the vehicle.
8. Bleed the Brakes It’s crucial to bleed the brake system to remove any air trapped in the lines. Follow the specific bleeding procedure for your vehicle.
9. Test Your Brakes Once everything is reassembled and bled, take the car for a short test drive to ensure the brakes are functioning properly.
Conclusion
Replacing rear brake lines may seem daunting, but with the right tools and a little patience, it can be a manageable DIY project. Prioritizing your vehicle's brake system in your maintenance routine will not only enhance your driving experience but also ensure your safety on the road. Remember, if you're ever in doubt, consulting with a professional mechanic is always a wise choice.
